Continuous Integration
You can use NVIDIA Air to integrate a Network Continuous Integration (NetCI) pipeline. The provided workflows enable you to onboard production code and test against a digital simulation of the network.
NVIDIA Air Continuous Integration is currently in early beta testing. To take part in the beta, reach out to the NVIDIA Cumulus in the Cloud (CITC) team at citc-support@nvidia.com.
Requirements
To use NVIDIA Air Continuous Integration as a Service (CIaaS), you must:
- Deploy Infrastructure as Code (IaC)
- Build the data center topology
Deploy Infrastructure as Code
You must store the configurations and deployment mechanism in a centralized git repository. Common git repositories include GitHub and GitLab.
Currently, GitLab is the only supported centralized code repository.
Infrastructure as code can exist in many ways. Below are two methods that you can use to implement a CI solution.
Simple IaC
The simplest form of IaC involves backing up and restoring configurations using a centralized configuration repository. NVIDIA Networking provides a free publicly available, simple IaC repository that you can use to back up and restore files. Fork this repository, run it in your environment to back up your configurations, then use it to restore or apply configuration changes. Any changes you commit to the backup configurations obtained through this repository result in a pipeline run of the CI workflow.
Advanced IaC
The NVIDIA Production Ready Automation module is one example of an advanced IaC solution. This code centralizes not only the configuration backup, but creates a fully comprehensive automation deployment method including data structures, templates, and feature-specific tasks.
Build the Data Center Topology
You can build the data center topology using one of two methods:
- For new environments, you can use the NVIDIA Air topology builder tool to create the new topology; see Build a Custom Topology.
- For existing environments, it is easier to use a script to convert the existing configuration into a topology file; see Create a Custom Topology from the Production Network.
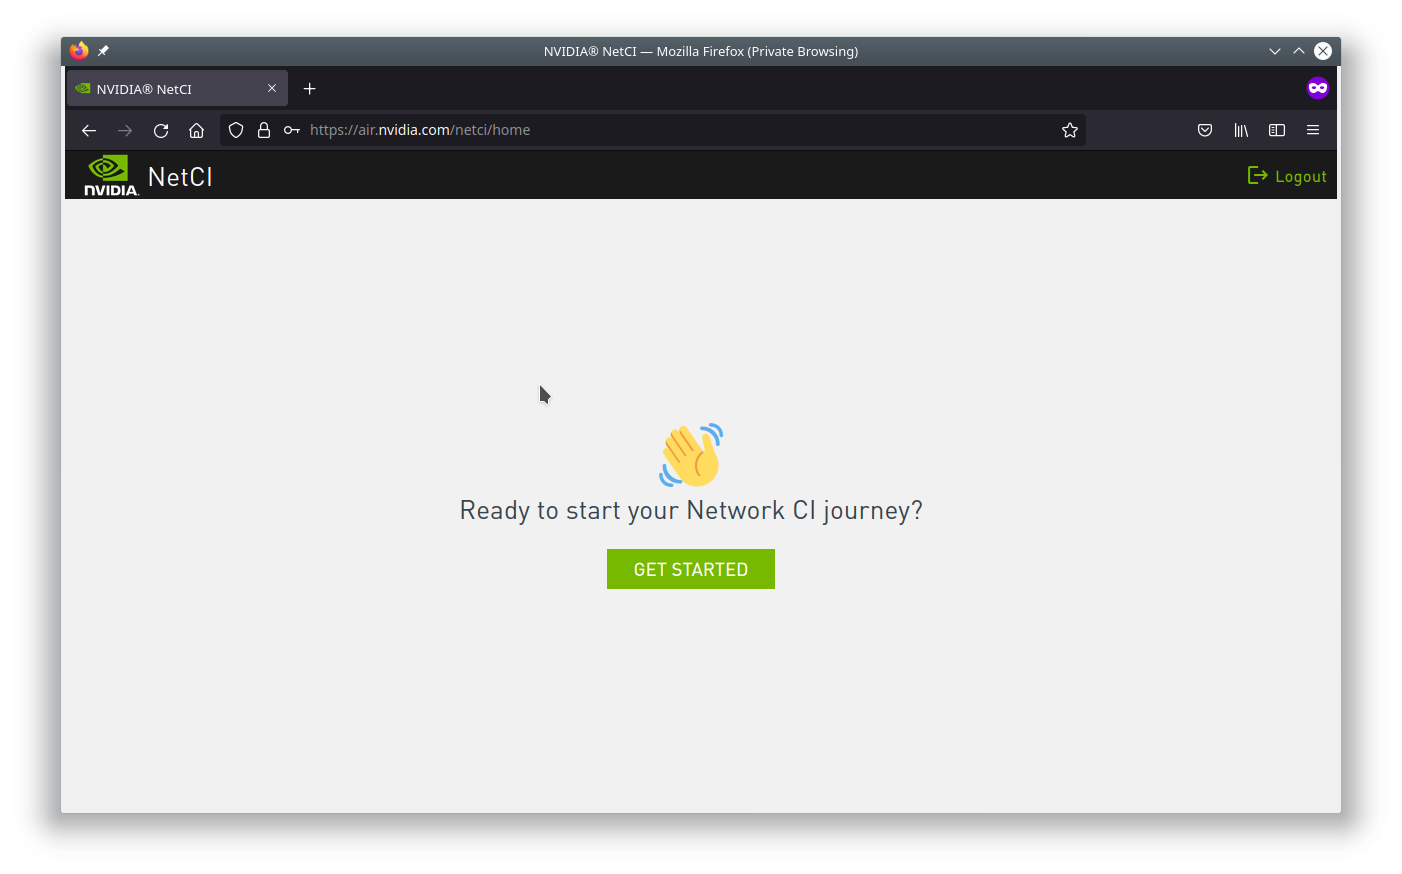
Access NetCI
NVIDIA Air continuous integration is available through the direct link for NetCI.
Log in by creating a new account.
Add a NetCI Workflow
After the first login, click Get Started to start the configuration wizard:
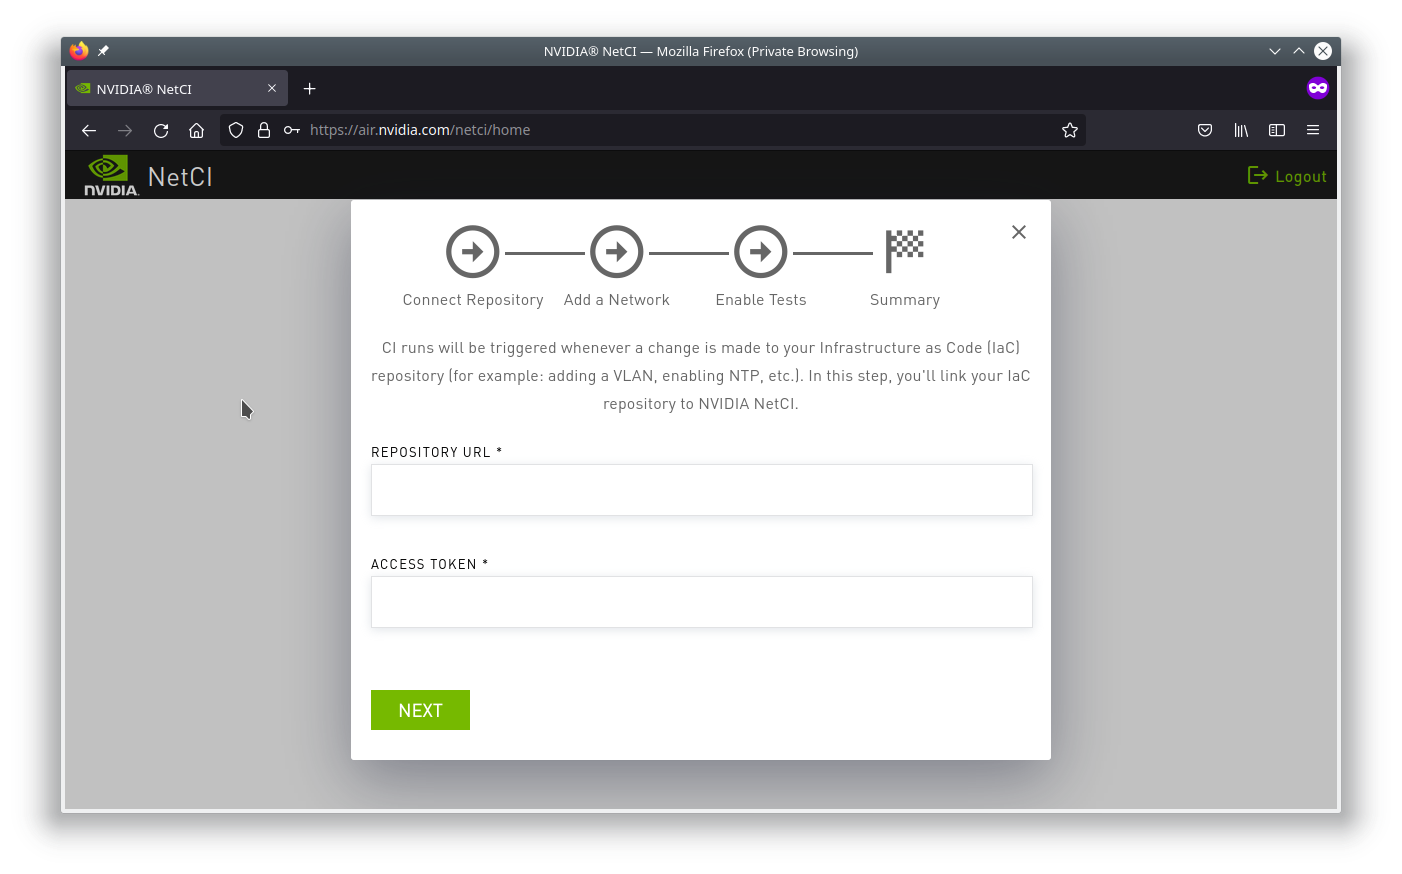
Connect a Repository
You must link to your git repository and allow the NVIDIA Air NetCI platform access to read the repository.
-
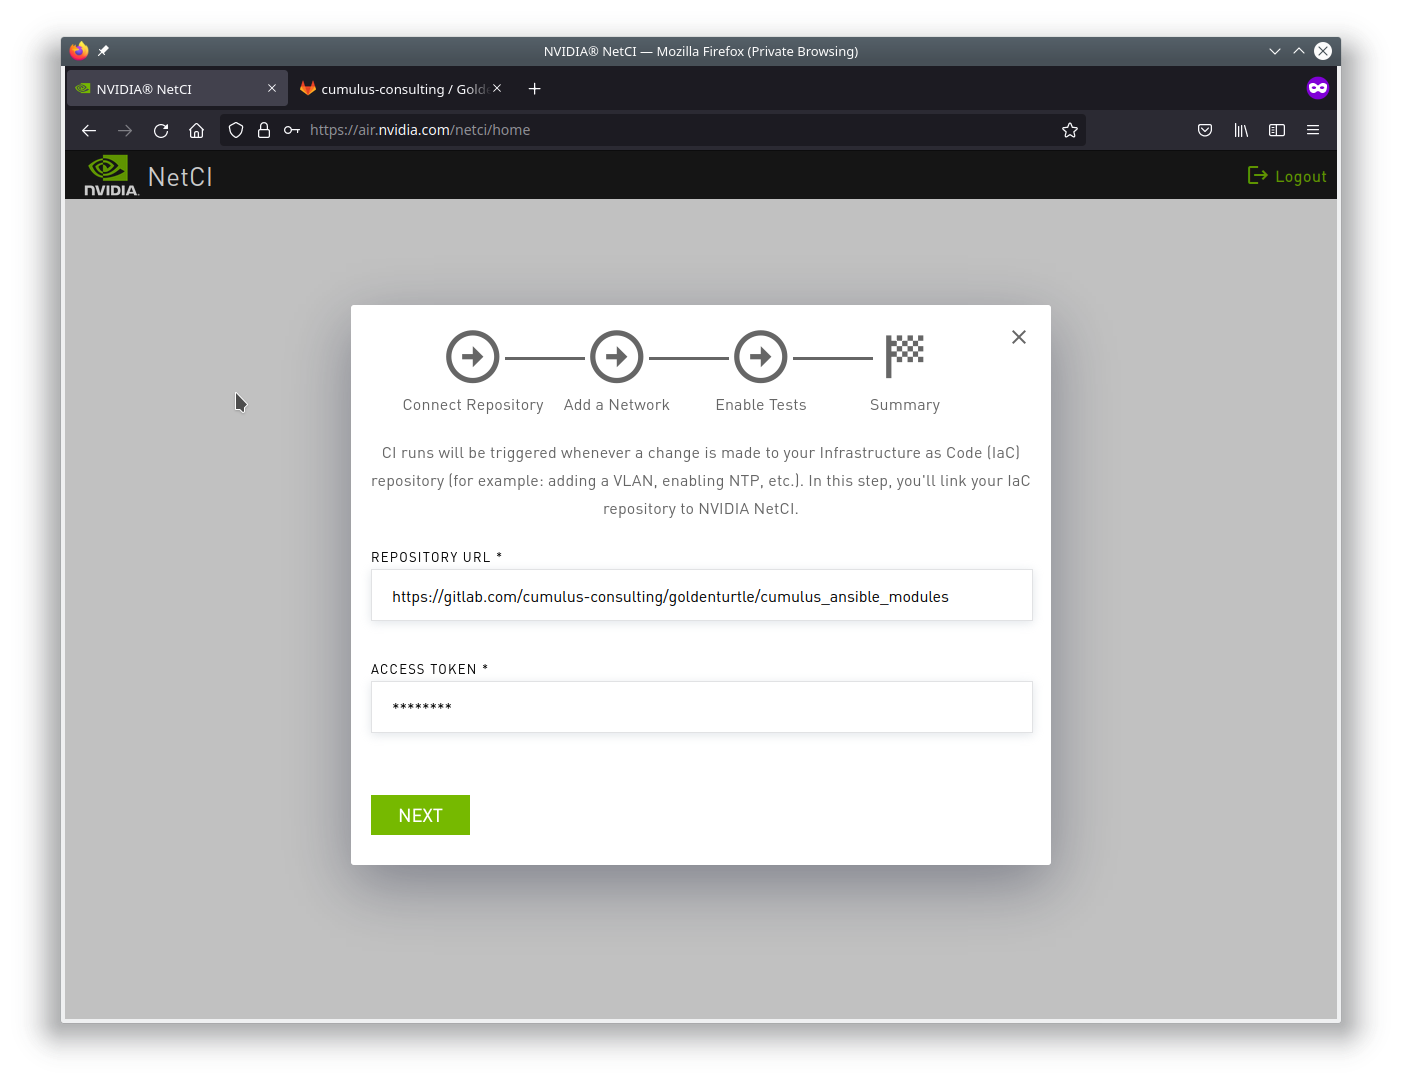
Enter the Repository URL. The repository URL is the parent level URL directly accessible over the internet; for example:
https://gitlab.com/cumulus-consulting/goldenturtle/cumulus_ansible_modules -
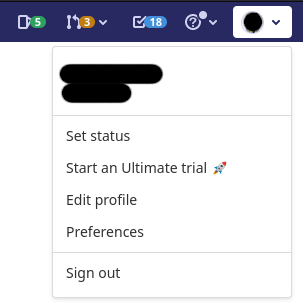
Enter the Access Token. The repository generates the access token, which you can obtain through the UI. The following steps show how to generate the token from GitLab.
-
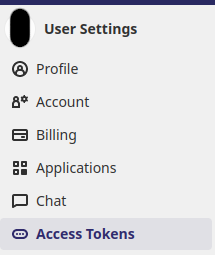
Log in to GitLab, then select Preferences.
-
Select Access Tokens.
-
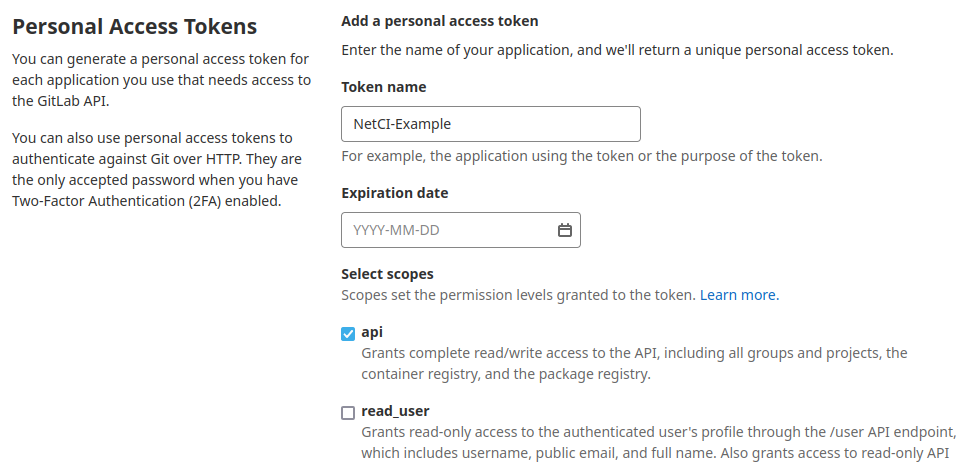
Create an access token by giving it a name and make sure to select api as the selected scope.
-
Take the newly generated personal access token, then copy and paste it into the Access Token field in NVIDIA Air.
-
After you enter the repository URL and access token, the screen looks like this:
Add a Network
The network defines the architecture that runs in NVIDIA Air as a simulation and the configuration that deploys into the simulation. All required input below is relative to the repository.
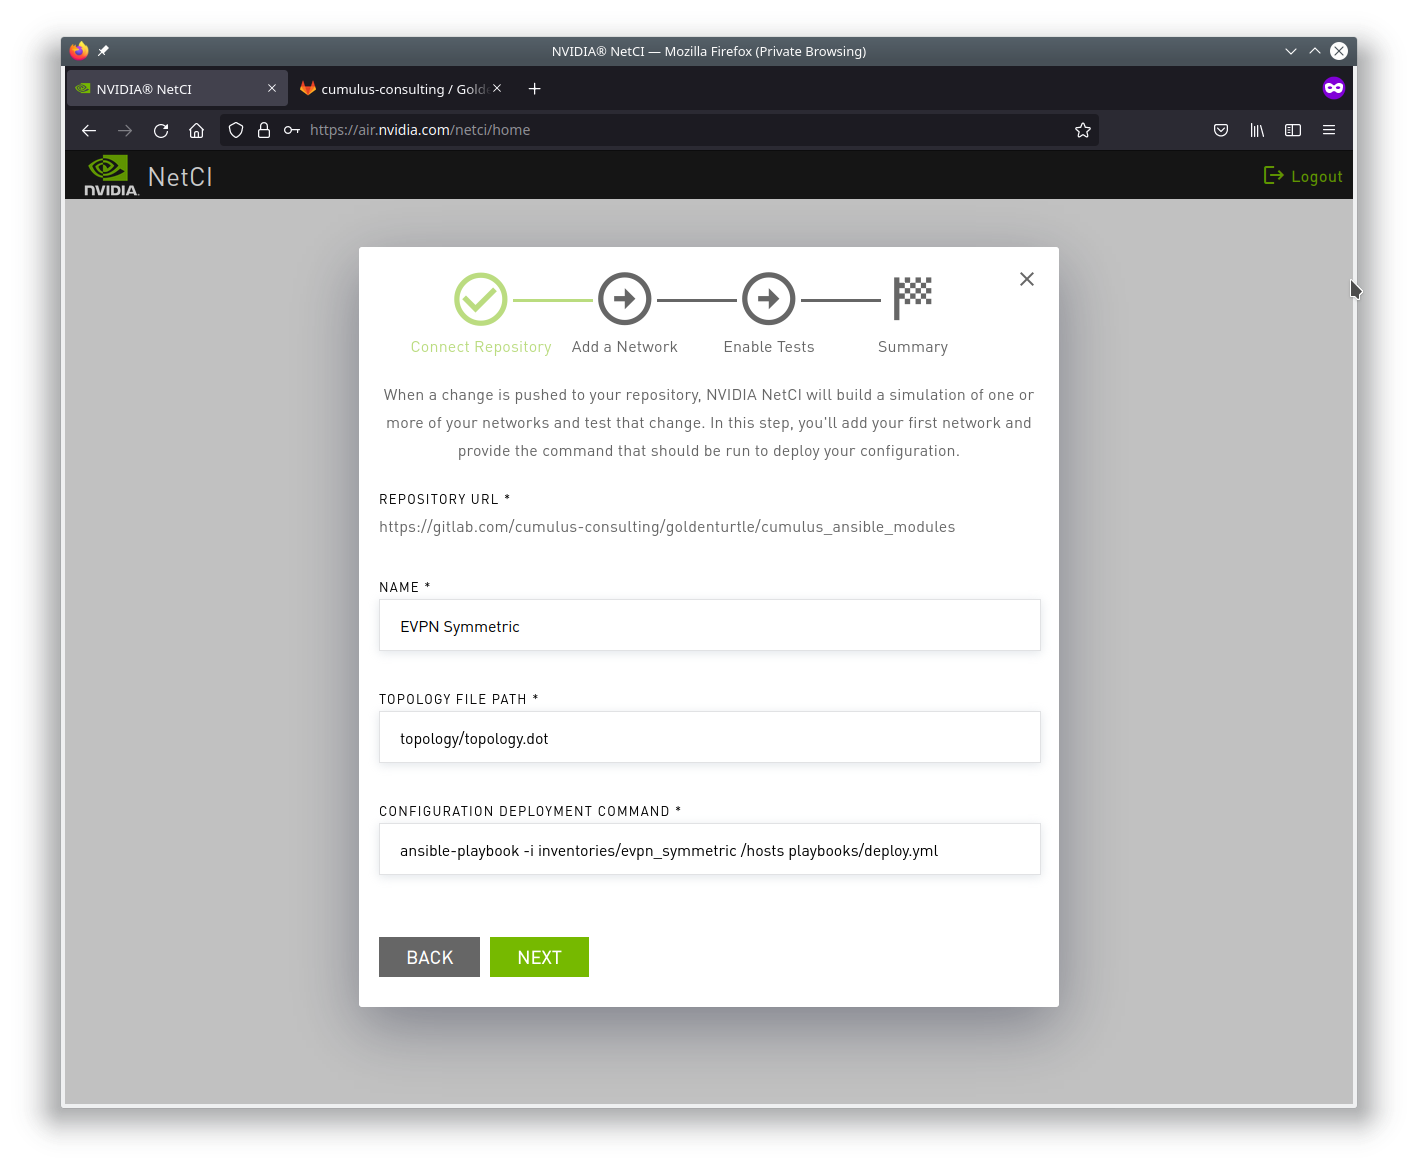
- Name: The name of the network and CI environment to test.
- Topology File Path: The relative path within the repository linked in the previous section that points to a
.dotformat topology file that defines the network. - Configuration Deployment Command: The command that when executed from the root directory of the repository can successfully deploy and provision the entire network.
Enable Tests
The NetCI environment has a redefined standard set of tests that rely on NVIDIA NetQ as the backend validation tool.
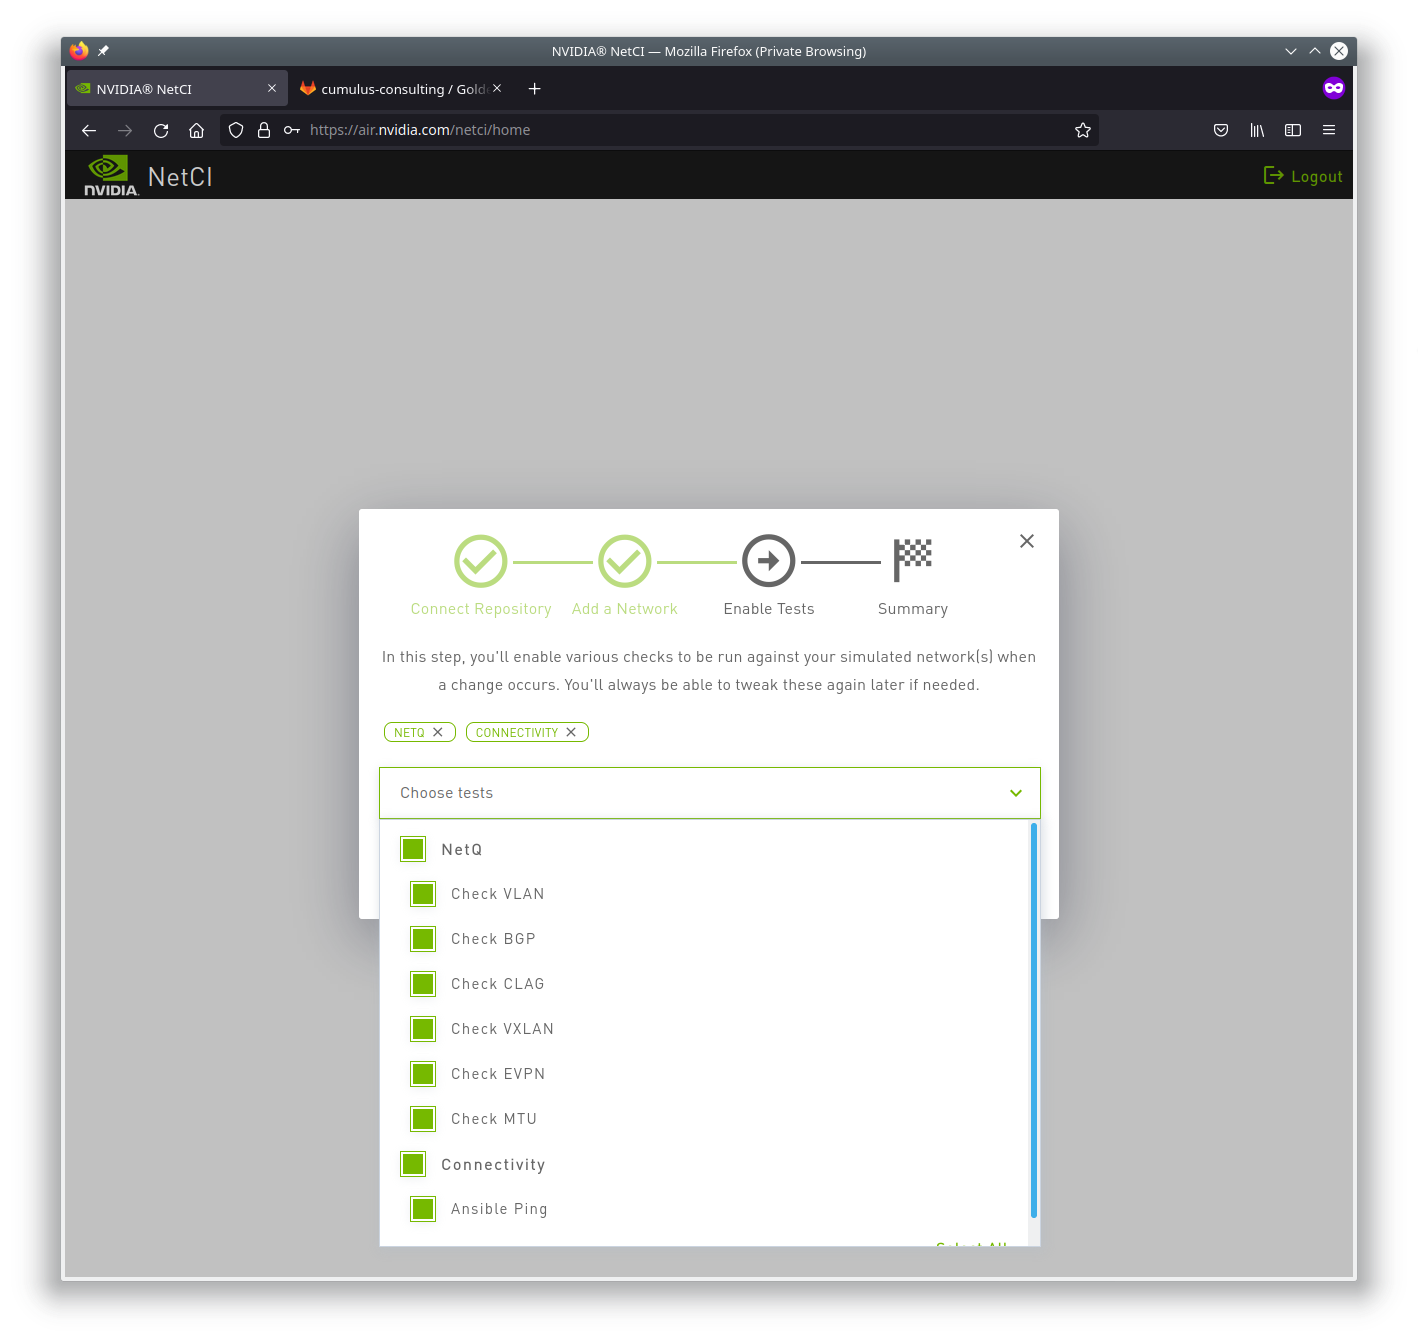
You can define your own tests; see Add Tests below.
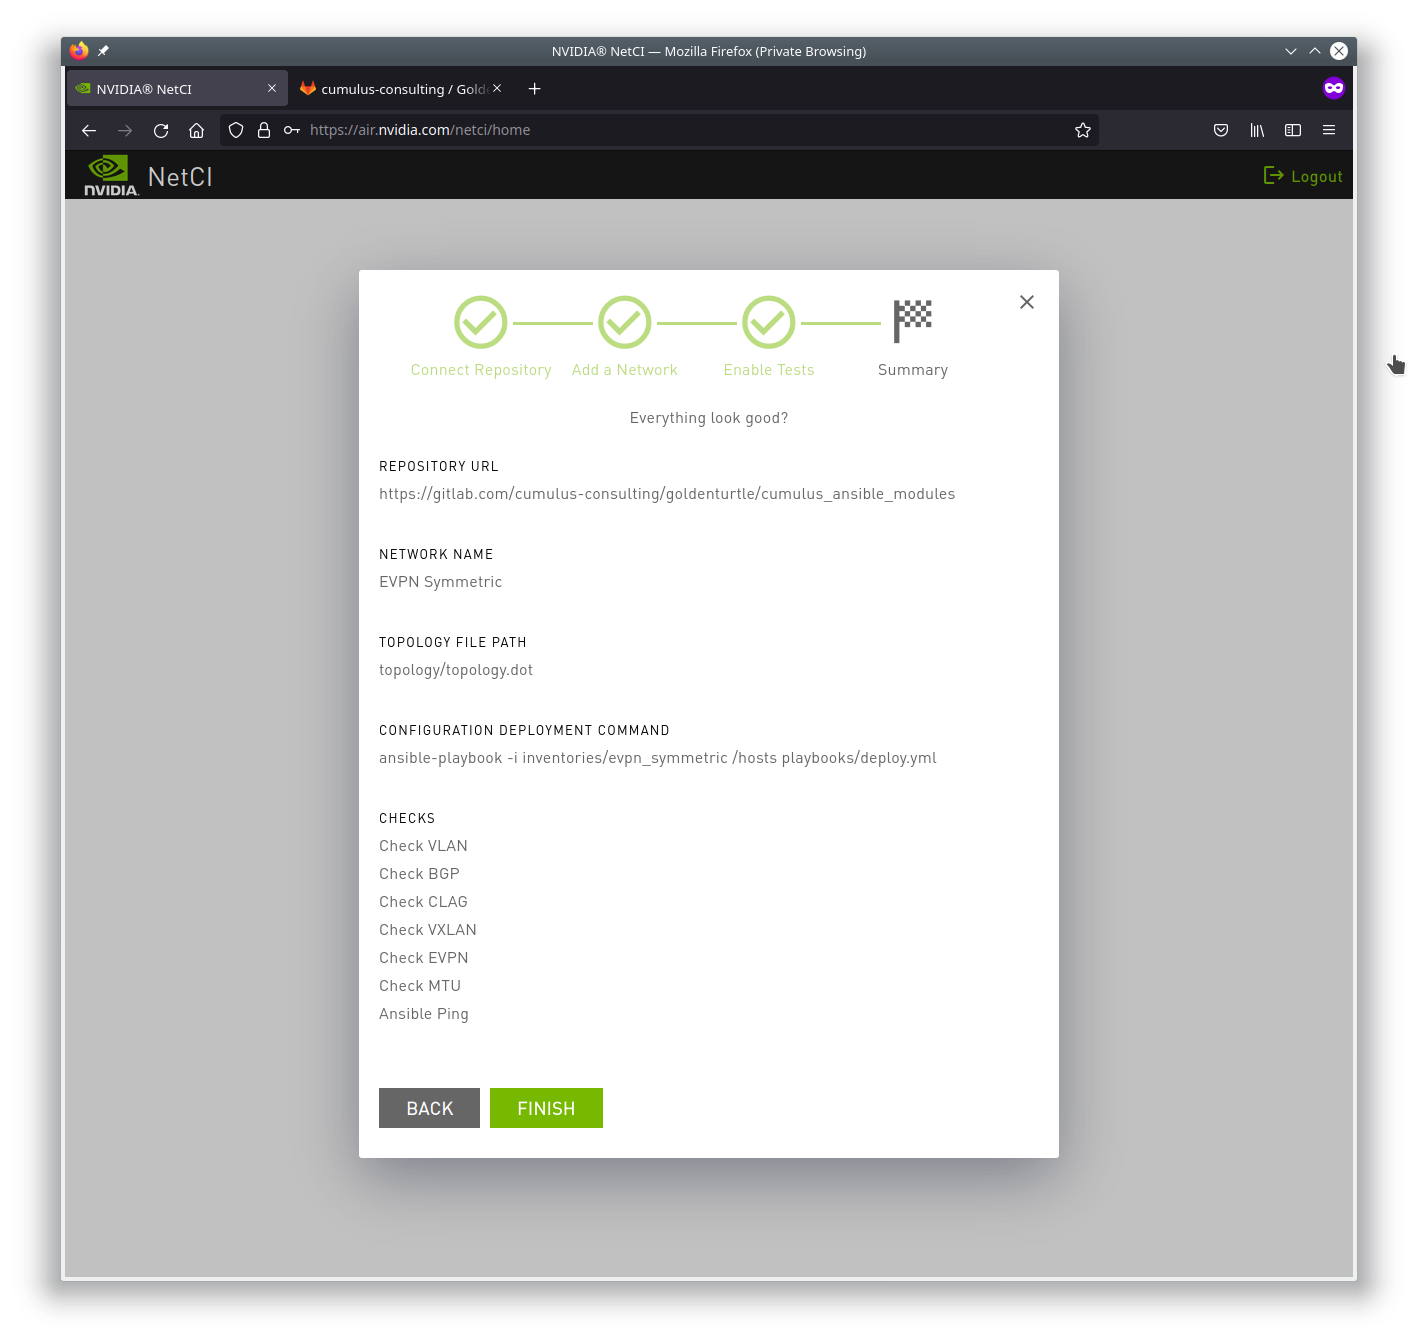
Summary
The last page of the wizard summarizes the entire configuration.
Networks
You define and track networks on the Networks tab.
Test Results
To see all test results, click and expand the desired network in the Networks section.
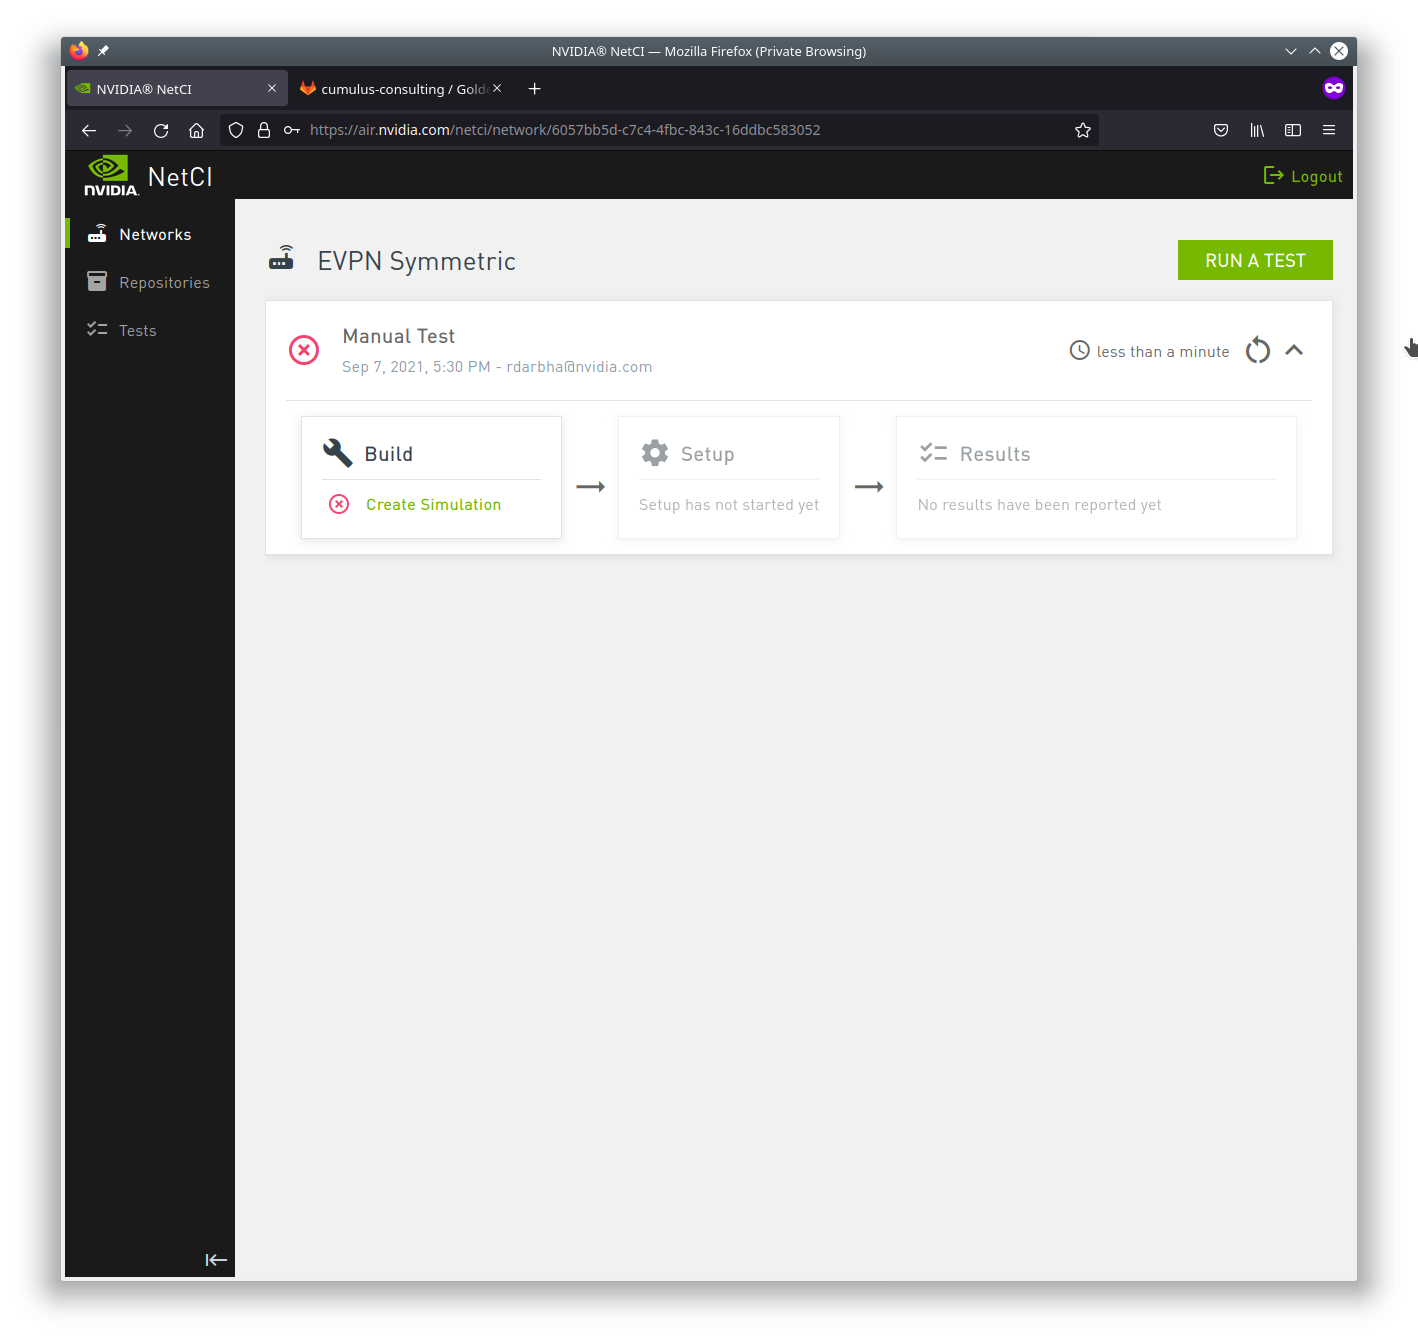
You can click and expand each stage to see more details of the results.
Repositories
Define and track configured repositories on the Repositories tab.
Tests
The Tests tab lists all supported tests and allows you to run a single test at a time against the network infrastructure.
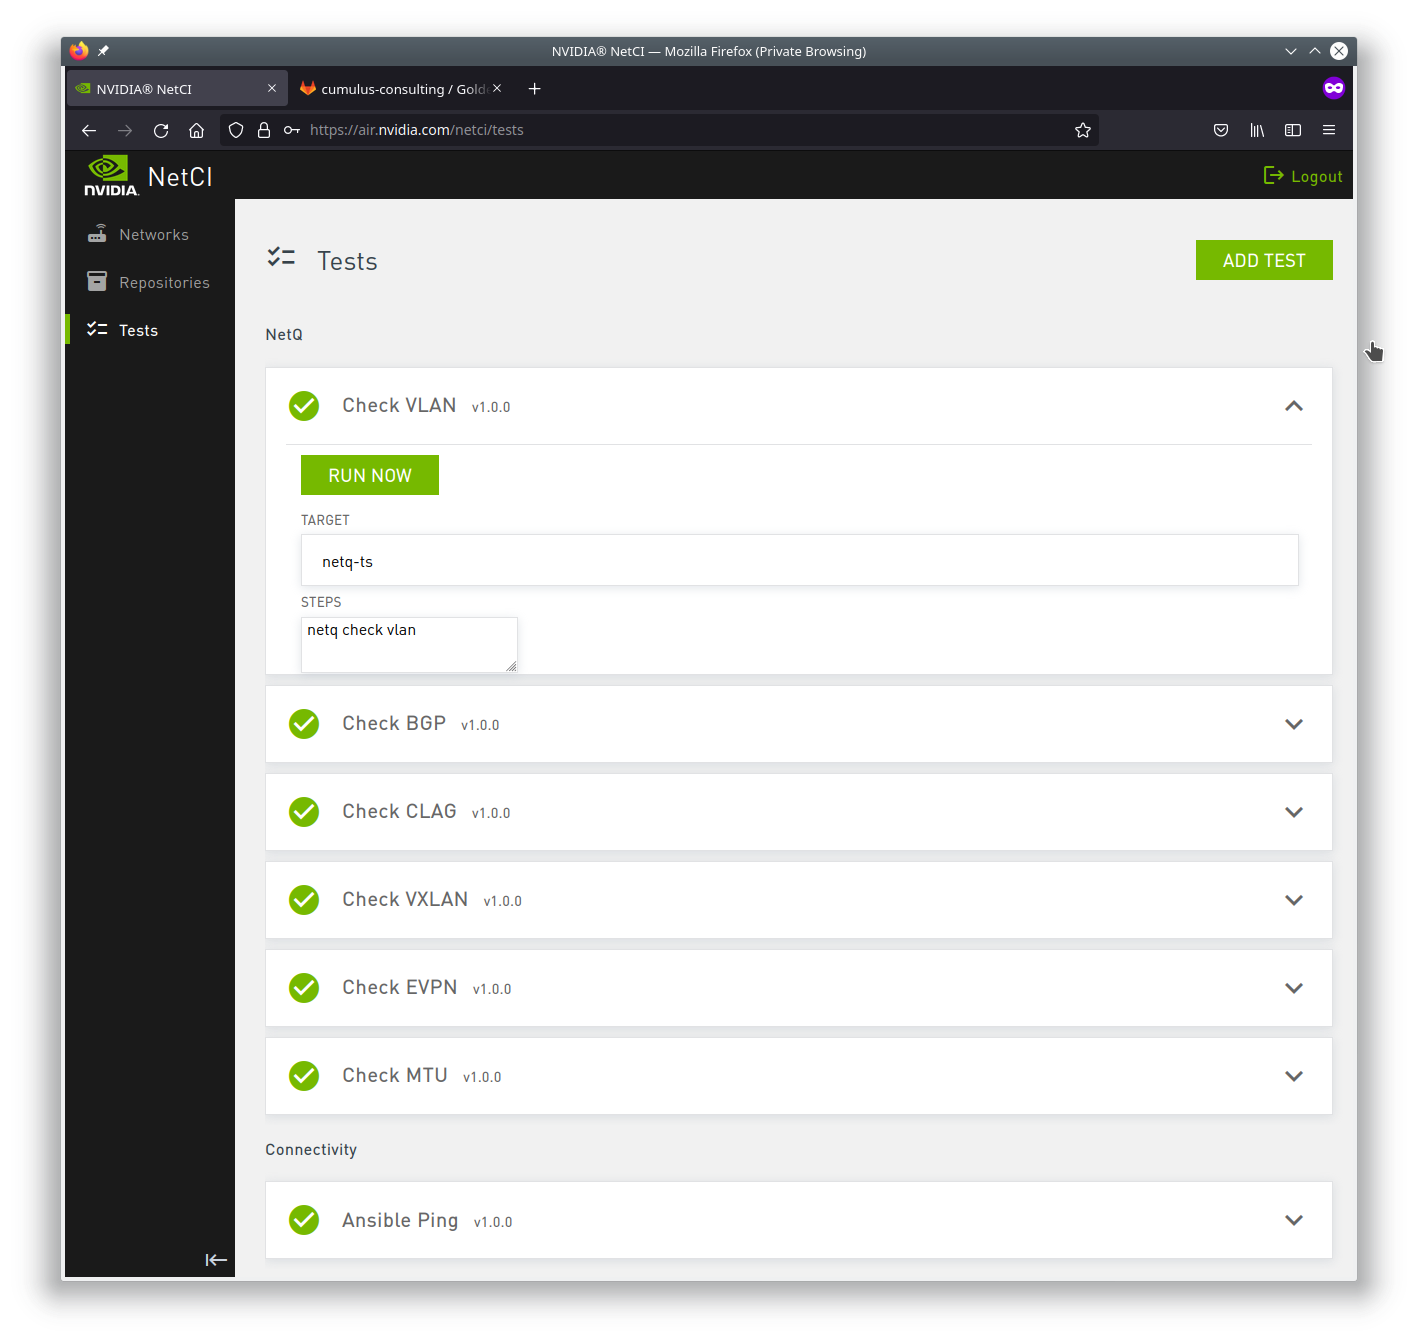
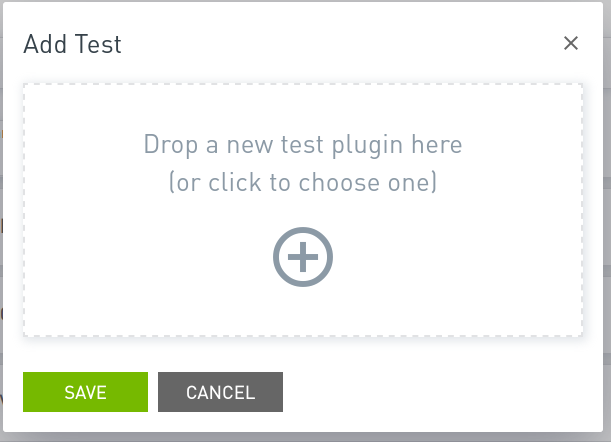
Add Tests
The NetCI environment supports individual test upload. You define the tests in YAML format. Below are two examples:
Verify Underlay BGP: # test title
  version: 1.0.0 # optional version string, NetCI will auto-increment this when you make changes
  group: Baseline - Network Configuration # Test group name
  target: localhost # Node name where the steps should be run (localhost == oob-mgmt-server for Airwolf)
  # optional description, supports markdown
  description: Check all ipv4 unicast BGP peering within the SDN network
  steps: # all commands are run as 'cumulus' user
    - ansible -m shell -a \'echo \"cumulus@\$(hostname):mgmt-vrf:\~\$ net show bgp ipv4 unicast summary \"; net show bgp ipv4 unicast summary;echo \" \"\' network \| grep -v SUCCESS
  summary_regex: '.*' # optional regex; Each test will have "results" and a "summary". "results" is the full stdout/stderr, "summary" is only the part of stdout/stderr matching this regex
Nessus Scan switch:
  group: Operations and Security
  target: spine01
  description: Ensure fully configured switch can trigger and accept nessus scan.
  steps:
    - run_script
  script:python: |
    def deploy_ansible_config():
        ...
    def run_nessus_scan():
        ...
    def main():
        deploy_ansible_config()
        run_nessus_scan()
    if __name__ == '__main__':
        main()
Click Add Tests to add a new test.