NVOS Management
NVOS images are managed with lifecycle management in the NetQ UI. This section details how to check for missing images, upload images, and specify default images. You can download NVOS images from the NVIDIA Application Hub.
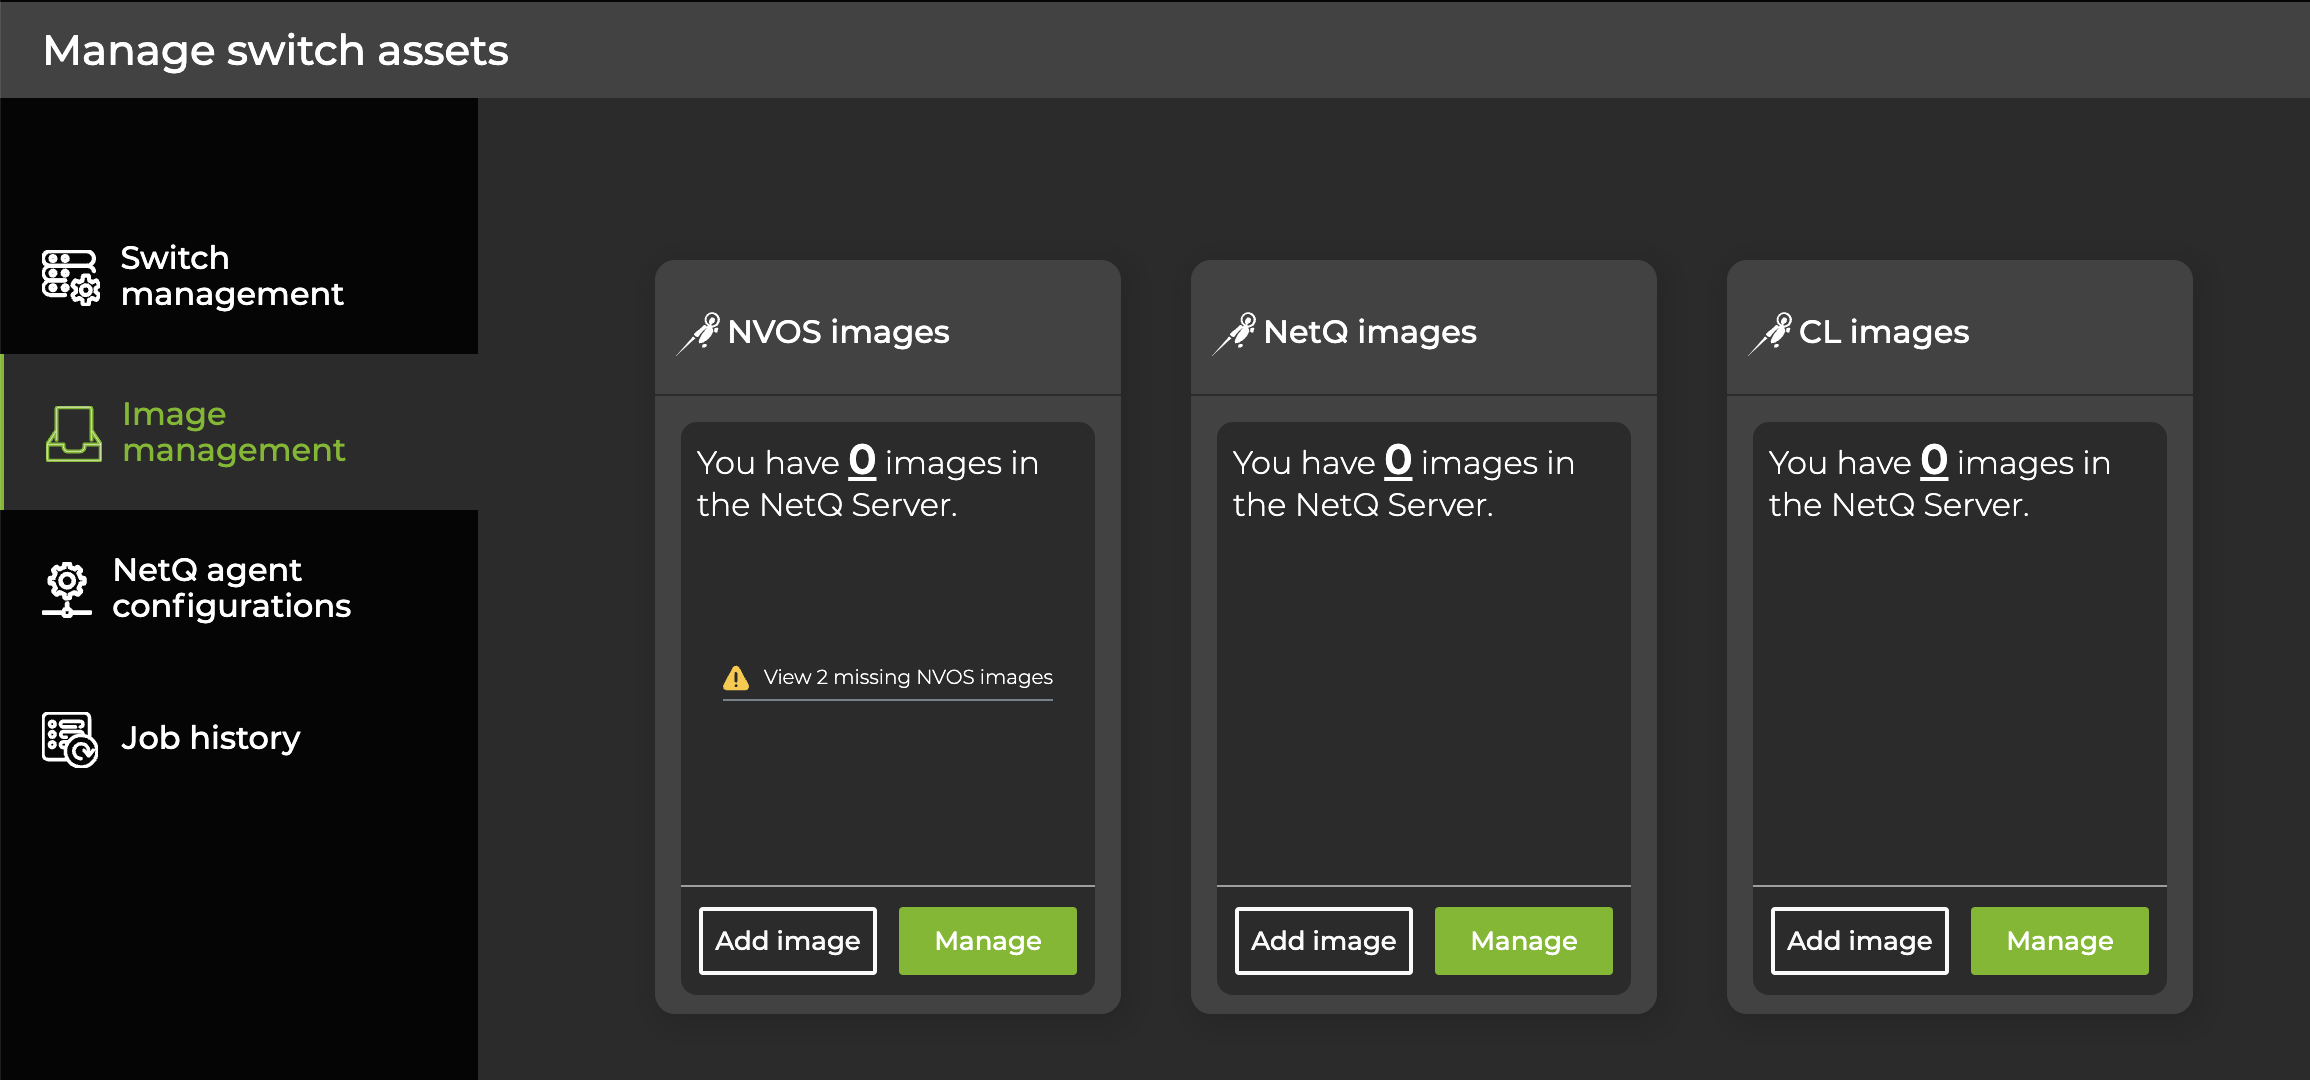
To complete the tasks outlined in this section, expand the ![]() Menu in the upper-left corner of the UI and select Manage switches. From the dashboard, select the Image management tab to display the NetQ and network OS images, including NVOS:
Menu in the upper-left corner of the UI and select Manage switches. From the dashboard, select the Image management tab to display the NetQ and network OS images, including NVOS:
View and Upload Missing Images
You should upload images for each NVOS version currently installed in your inventory so you can support rolling back to a known good version should an installation or upgrade fail. If you have specified a default NVOS version, NetQ verifies that the necessary versions of the default image are available based on the known device inventory, and if not, lists those that are missing.
To upload missing NVOS images:
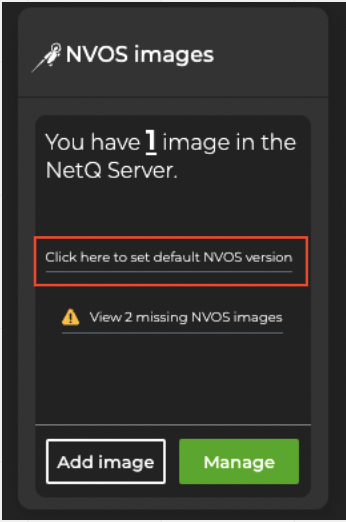
- On the NVOS Images card, select View # missing NVOS images to see which images you need.
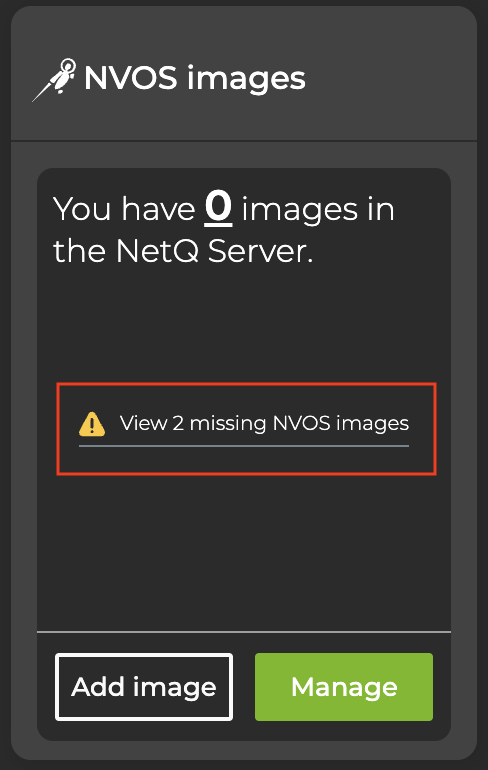
If you have already specified a default image, you must click Manage and then Missing to see the missing images.
- Select one or more of the missing images and make note of the version, ASIC vendor, and CPU architecture for each.
-
In the UI, select
 Add image above the table.
 -
Provide the file that matches the criteria for the selected image(s).
-
Click Import.
-
Click Done.
-
(Optional) Click the Uploaded tab to verify the image is in the repository.
Upload Images
To upload the NVOS images that you want to use for the upgrade, first download the images (.img files). Place them in an accessible part of your local network. After obtaining the images, upload them to NetQ:
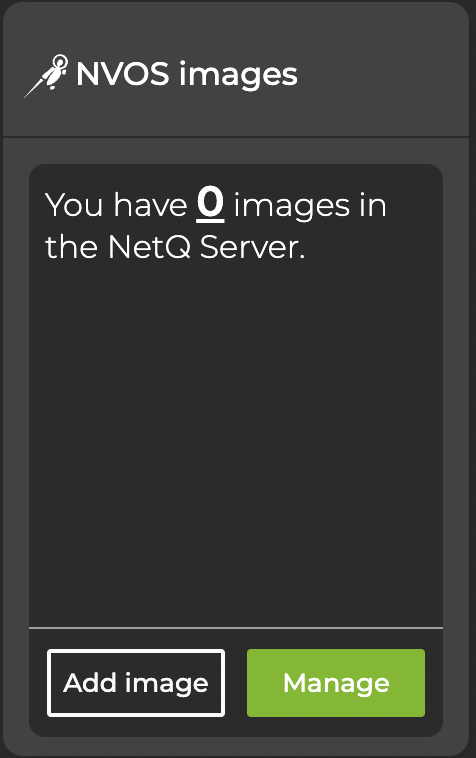
- Select the Add image button on the NVOS card:
-
Upload the images, then select Import.
-
Monitor the progress until it completes. Click Done.
Specify a Default Upgrade Version
Specifying a default upgrade version is optional, but recommended. You can assign an NVOS version as the default version to use when installing or upgrading switches. The default is typically the newest version that you intend to install or upgrade on all, or the majority, of your switches. If necessary, you can override the default selection during the installation or upgrade process if an alternate version is needed for a given set of switches.
To specify a default version:
-
On the NVOS Images card, select Click here to set default NVOS version:
-
Select the version you want to use as the default for switch upgrades.
-
Click Save. The default version is now displayed on the card.
Remove Images from Local Repository
After you upgrade all your switches beyond a particular release, you can remove images from the LCM repository to save space on the server. To remove images:
-
Click Manage on the NVOS Images card.
-
On the Uploaded tab, select the images you want to remove.
-
Click
 Delete.
Perform an NVOS Upgrade
-
Expand the
 Menu in the upper-left corner of the UI and select Manage switches.
 -
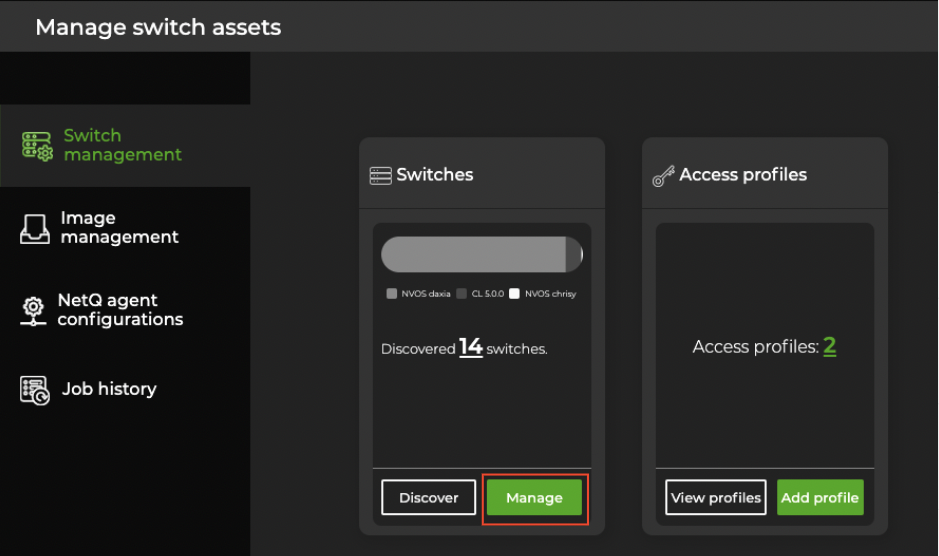
From the Switches card, select Manage:
-
Select the device(s) to include in the upgrade, then click
 Upgrade NVOS above the table and follow the steps in the UI: give the upgrade a name, select the NVOS version, then choose whether to restart the devices after they’ve been upgraded. If you choose not to restart the devices after the upgrade, the upgrade will remain in a pending state until the devices are restarted.
 -
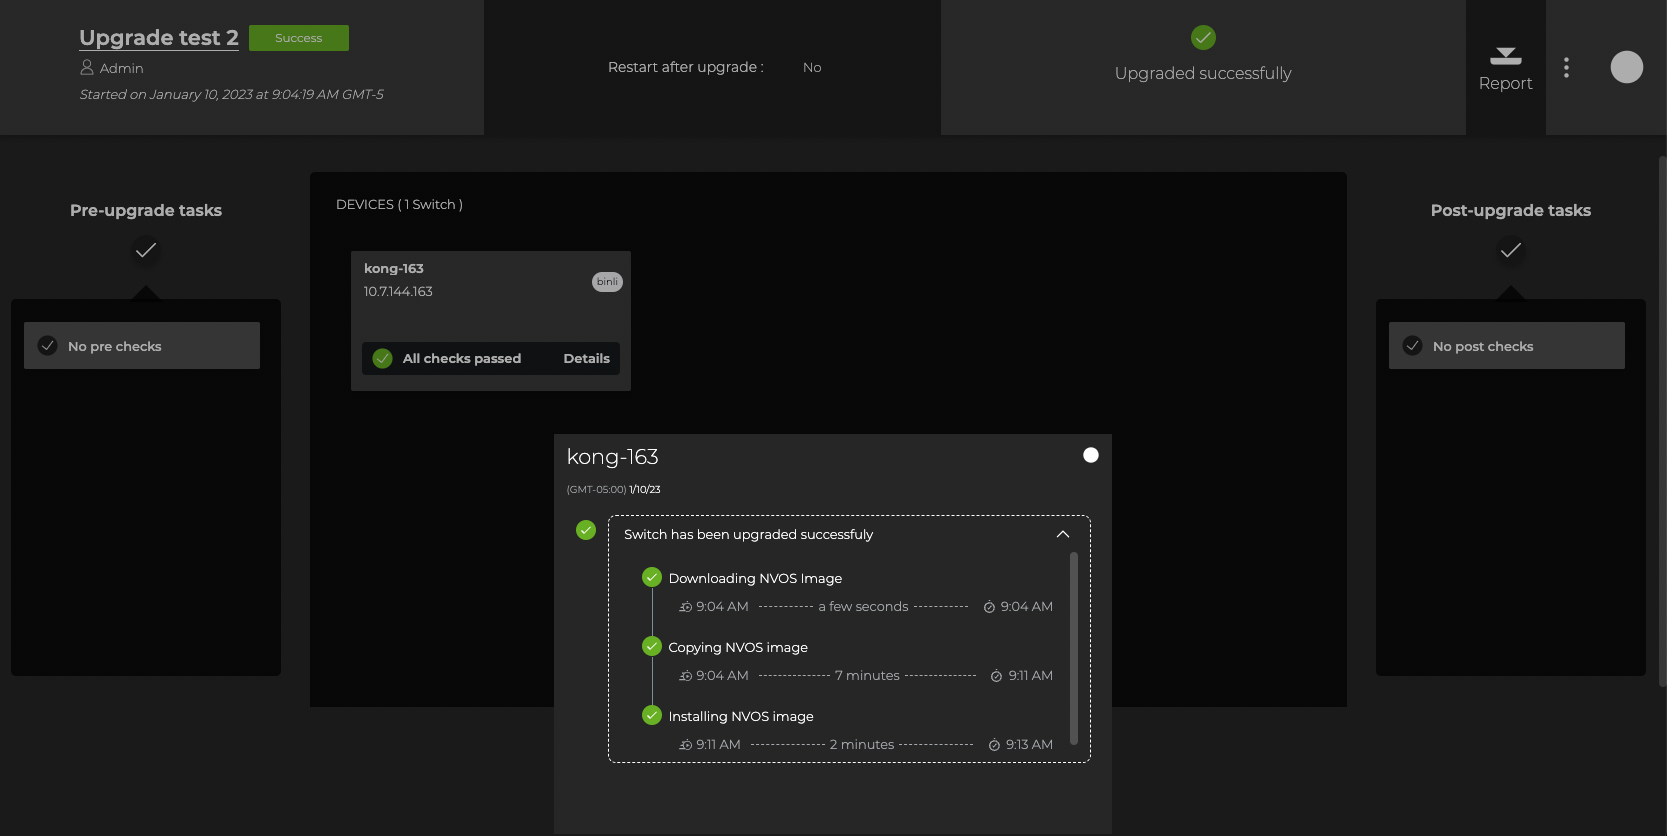
NetQ directs you to a screen where you can monitor the upgrade and view past upgrades:
View Previous NVOS Upgrades
To view the full history of NVOS upgrades:
-
Expand the
Menu and select Manage switches. -
Select the Job history tab:
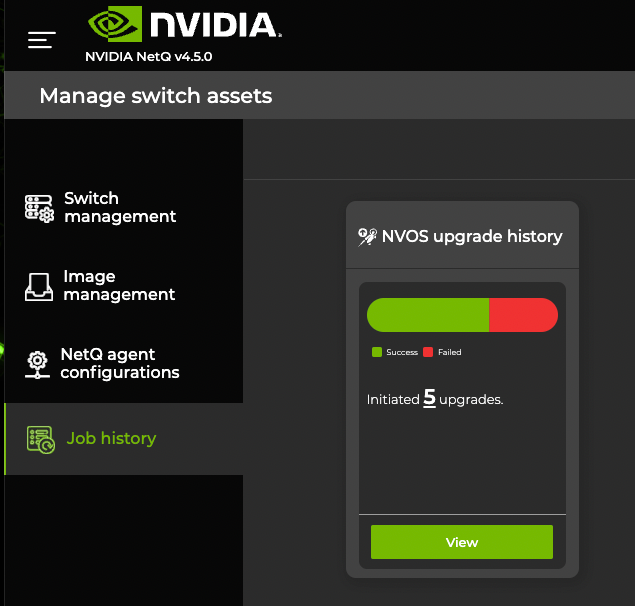
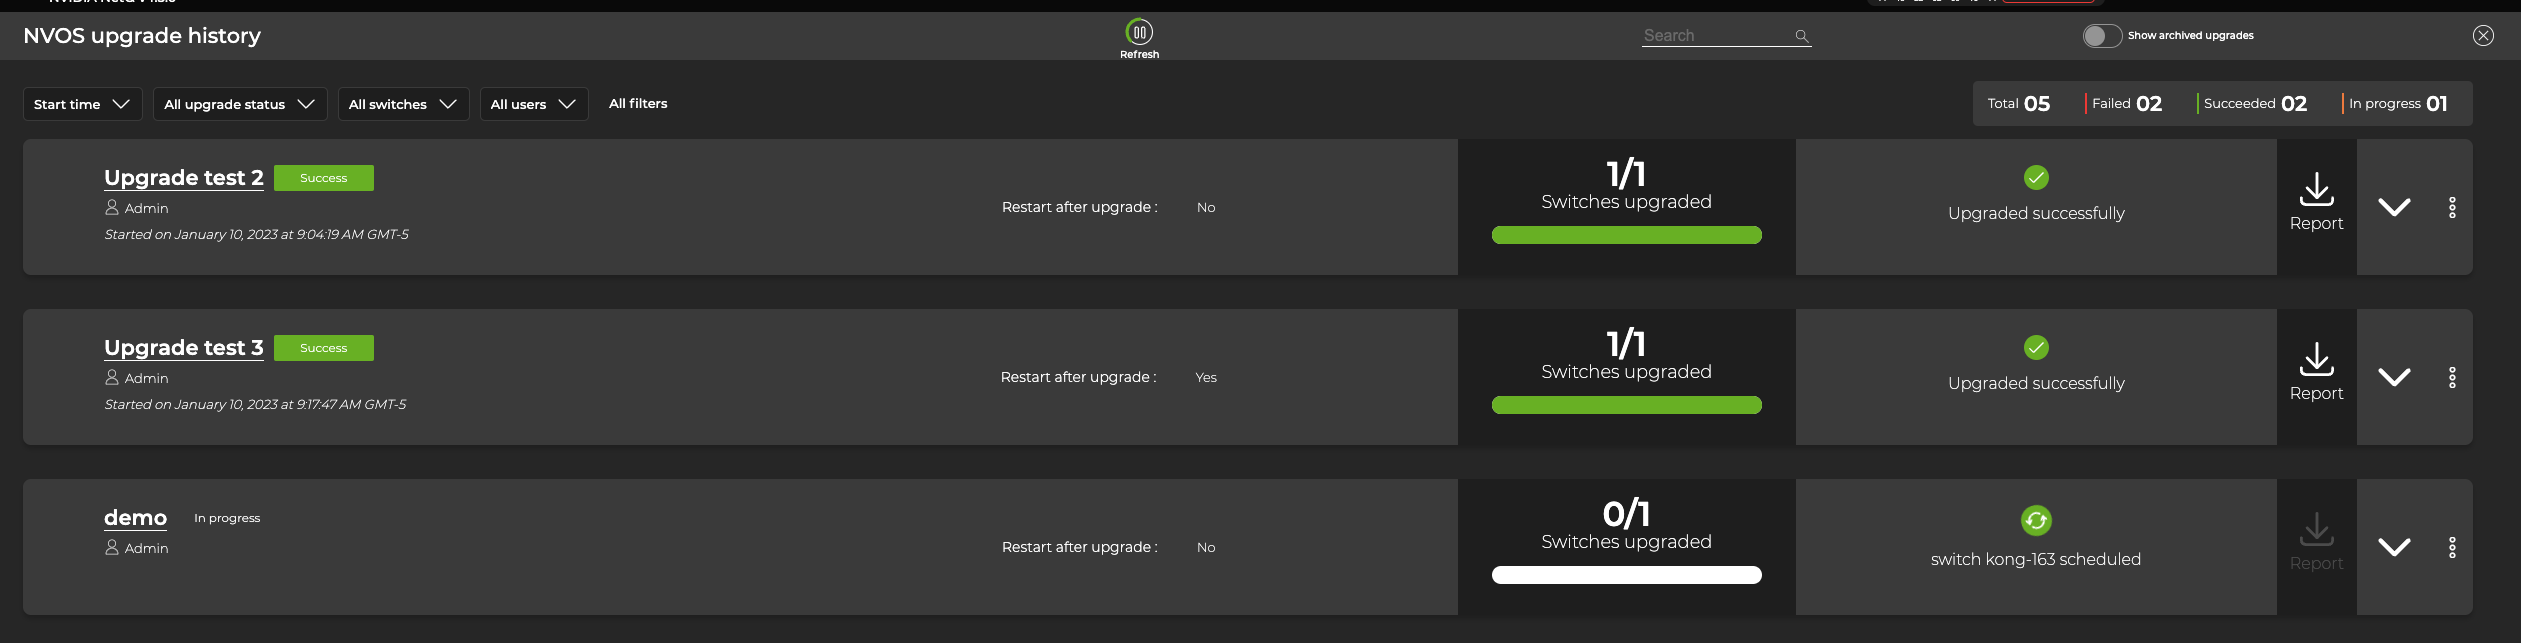
- On the NVOS upgrade history card, select View. From here, you can sort and filter upgrades using the controls at the top of the screen.
To view information at the most granular level, expand an individual upgrade job and select the arrow:

Select Details on any device to display a timestamped history of the upgrade: