Switch Inventory
With the NetQ UI and NetQ CLI, you can monitor your inventory of switches across the network or individually. A user can view operating system, motherboard, ASIC, microprocessor, disk, memory, fan, and power supply information.
For switch performance information, refer to Switch Monitoring.
Switch Inventory Commands
Several forms of this command are available based on the inventory component you’d like to view. See the command line reference for additional options, definitions, and examples.
netq show inventory (brief | asic | board | cpu | disk | memory | license | os)
To view Cumulus Linux OS versions supported on your switches, run netq show cl-manifest:
netq show cl-manifest
To view all installed software packages on your switches, run netq show cl-pkg-info:
netq show cl-pkg-info
To view recommended software package information for a switch, run netq show recommended-pkg-version:
netq <hostname> show recommended-pkg-version
Cumulus Linux, SONiC, and NetQ run services to deliver the various features of these products. You can monitor their status using the netq show services command:
netq show services
View Switch Inventory in the UI
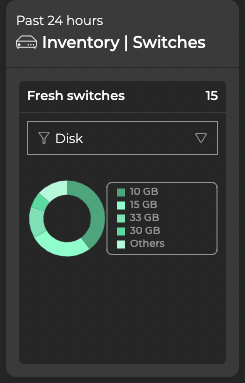
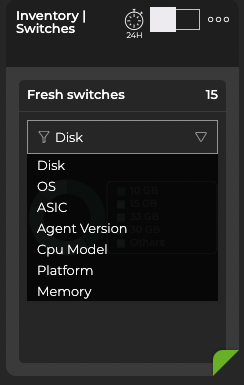
Add the Inventory/Switches card to your workbench to monitor the hardware and software component inventory on switches running NetQ in your network. To add this card to your workbench, select Add card > Inventory > Inventory/Switches card > Open cards. Select the dropdown to view additional inventory information.


View Distribution and Component Counts
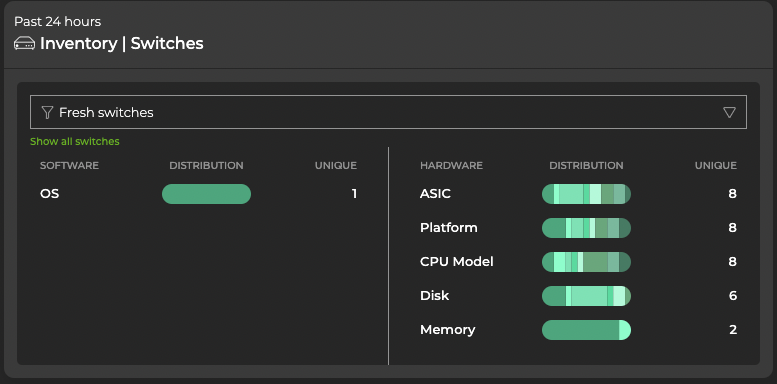
Open the large Inventory/Switches card to display more granular information about software and hardware distribution. By default, the card displays data for fresh switches. Select Rotten switches from the dropdown to display information for switches that are in a down state. Hover over the top of the card and select a category to restrict the view to ASICs, platform, or software.

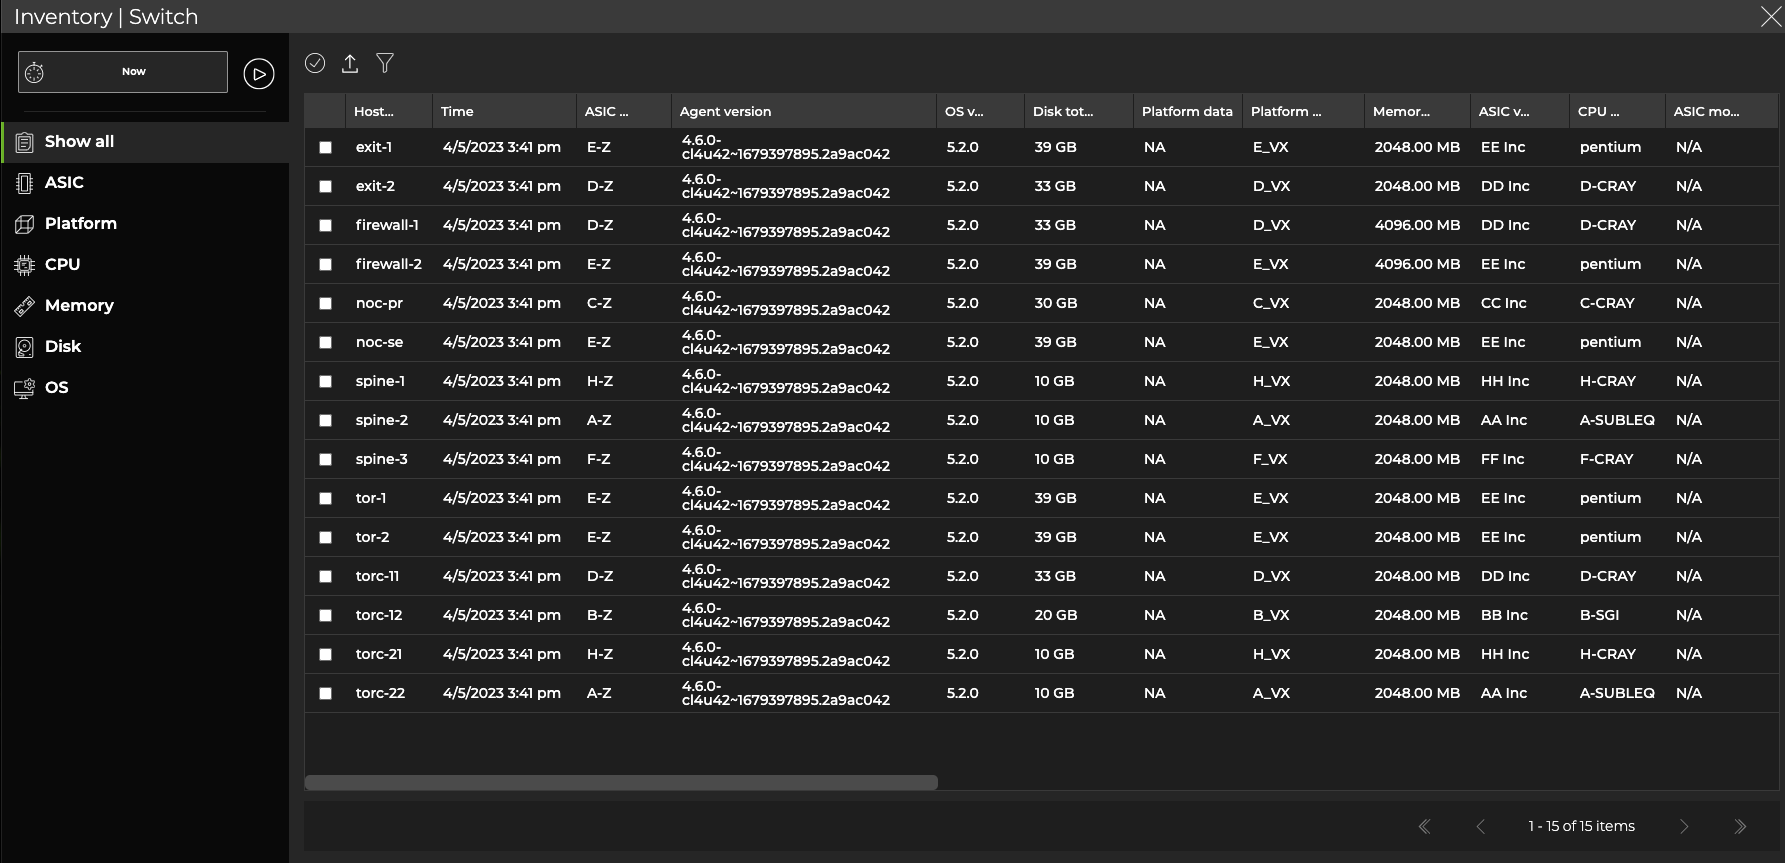
Expand the Inventory/Switches card to full-screen to view, filter or export information about ASICs, motherboards, CPUs, memory, disks, and operating system.

Decommission a Switch
Decommissioning a switch or host removes information about the switch or host from the NetQ database. When the NetQ Agent restarts at a later date, it sends a connection request back to the database, so NetQ can monitor the switch or host again.
-
Locate the Inventory/Switches card on your workbench and expand it to full-screen.
-
Select the switches to decommission, then select Decommission device above the table.
If you attempt to decommission a switch that is assigned a default, unmodified access profile, the process will fail. Create a unique access profile (or update the default with unique credentials), then attach the profile to the switch you want to decommission.
-
Confirm the devices you want to decommission.
-
Wait for the decommission process to complete, then select Done.
To decommission a switch or host:
-
On the given switch or host, stop and disable the NetQ Agent service:
cumulus@switch:~$ sudo systemctl stop netq-agent cumulus@switch:~$ sudo systemctl disable netq-agent -
On the NetQ appliance or VM, decommission the switch or host:
cumulus@netq-appliance:~$ netq decommission <hostname-to-decommission>