Upgrade NetQ Appliances and Virtual Machines
The first step in upgrading your NetQ 2.4.x installation to NetQ 3.0.0 is to upgrade either the NetQ Platform software running on your NetQ On-premises Appliance(s) or VM(s), or the NetQ Collector software running on your NetQ Cloud Appliance(s) or VM(s).
Prepare for Upgrade
Two important steps are required to prepare for upgrade of your NetQ software:
- Download the necessary software tarballs
- Update the Debian packages on Appliance(s) and VM(s)
Optionally, you can choose to back up your NetQ Data before performing the upgrade.
To complete the preparation:
-
For on-premises deployments only, optionally back up your NetQ 2.4.x data. Refer to Back Up Your NetQ Data.
-
Download the relevant software.
-
Go to the MyMellanox downloads page page, and select NetQ from the Product list.
-
Select 3.0 from the Version list, and then click 3.0.0 in the submenu.
-
Select the relevant software from the HyperVisor/Platform list:
If you are upgrading NetQ Platform software for a NetQ On-premises Appliance or VM, select Appliance to download the NetQ-3.0.0.tgz file. If you are upgrading NetQ Collector software for a NetQ Cloud Appliance or VM, select Appliance (Cloud) to download the NetQ-3.0.0-opta.tgz file.
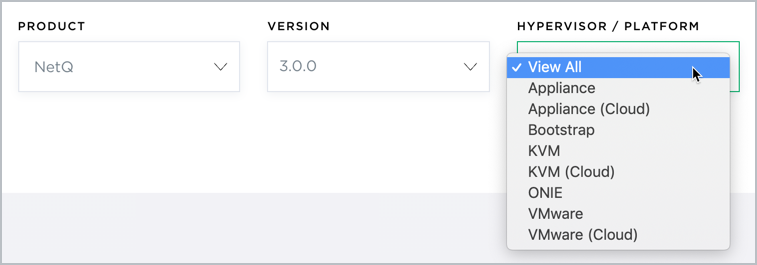
-
Scroll down and click Download on the relevant image card.
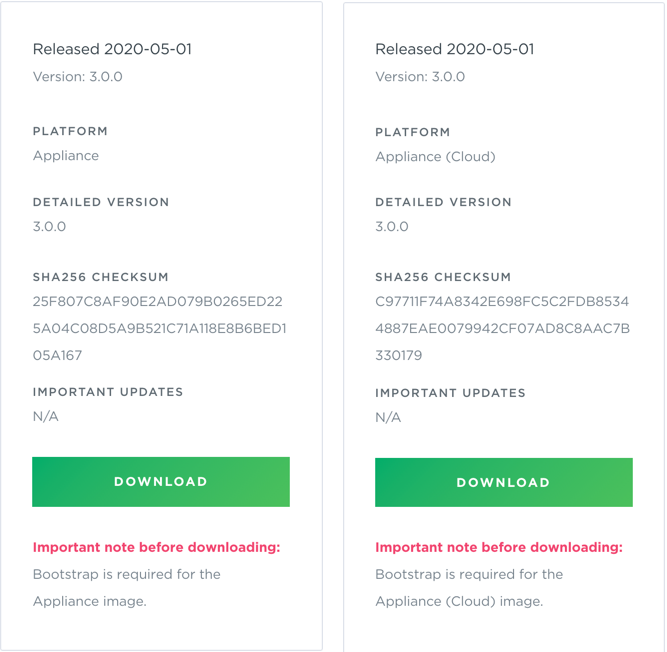
You can ignore the note on the image card because, unlike during installation, you do not need to download the bootstrap file for an upgrade.
-
-
Copy the file to the /mnt/installables/ directory on your appliance or VM.
-
Update /etc/apt/sources.list.d/cumulus-netq.list to netq-3.0 as followed
cat /etc/apt/sources.list.d/cumulus-netq.list deb [arch=amd64] https://apps3.cumulusnetworks.com/repos/deb bionic netq-3.0 -
Update the NetQ debian packages using the following three commands.
cumulus@<hostname>:~$ sudo dpkg --remove --force-remove-reinstreq cumulus-netq netq-apps netq-agent 2>/dev/null
[sudo] password for cumulus:
(Reading database ... 71621 files and directories currently installed.)
Removing netq-apps (2.4.1-ub18.04u26~1581351889.c5ec3e5) ...
Removing netq-agent (2.4.1-ub18.04u26~1581351889.c5ec3e5) ...
Processing triggers for man-db (2.8.3-2ubuntu0.1) ...
cumulus@<hostname>:~$ sudo apt-get update Get:1 http://apps3.cumulusnetworks.com/repos/deb bionic InRelease [13.8 kB] Get:2 http://apps3.cumulusnetworks.com/repos/deb bionic/netq-3.0 amd64 Packages [758 B] Hit:3 http://archive.ubuntu.com/ubuntu bionic InRelease Get:4 http://security.ubuntu.com/ubuntu bionic-security InRelease [88.7 kB] Get:5 http://archive.ubuntu.com/ubuntu bionic-updates InRelease [88.7 kB] ... Get:24 http://archive.ubuntu.com/ubuntu bionic-backports/universe Translation-en [1900 B] Fetched 4651 kB in 3s (1605 kB/s) Reading package lists... Donecumulus@<hostname>:~$ sudo apt-get install -y netq-agent netq-apps Reading package lists... Done Building dependency tree Reading state information... Done ... The following NEW packages will be installed: netq-agent netq-apps ... Fetched 39.8 MB in 3s (13.5 MB/s) ... Unpacking netq-agent (3.0.0-ub18.04u27~1588242914.9fb5b87) ... ... Unpacking netq-apps (3.0.0-ub18.04u27~1588242914.9fb5b87) ... Setting up netq-apps (3.0.0-ub18.04u27~1588242914.9fb5b87) ... Setting up netq-agent (3.0.0-ub18.04u27~1588242914.9fb5b87) ... Processing triggers for rsyslog (8.32.0-1ubuntu4) ... Processing triggers for man-db (2.8.3-2ubuntu0.1) ...
Now that you have all of the software components prepared, you can upgrade your NetQ On-premises Appliance or VM, or your NetQ Cloud Appliance or VM, using the NetQ Admin UI, in the next section. Alternately, you can upgrade using the CLI here: Upgrade Using the NetQ CLI.
Upgrade Using the NetQ Admin UI
Upgrading your NetQ On-premises or Cloud Appliance(s) or VMs is simple using the Admin UI.
To upgrade your NetQ software:
-
Upgrade the Admin UI application.
cumulus@<hostname>:~$ netq bootstrap master upgrade /mnt/installables/NetQ-3.0.0.tgz 2020-04-28 15:39:37.016710: master-node-installer: Extracting tarball /mnt/installables/NetQ-3.0.0.tgz 2020-04-28 15:44:48.188658: master-node-installer: Upgrading NetQ Admin container 2020-04-28 15:47:35.667579: master-node-installer: Removing old images ----------------------------------------------- Successfully bootstrap-upgraded the master nodenetq bootstrap master upgrade /mnt/installables/NetQ-3.0.0-opta.tgz -
Open the Admin UI by entering http://<hostname-or-ipaddress>:8443 in your browser address field.
-
Click Upgrade.
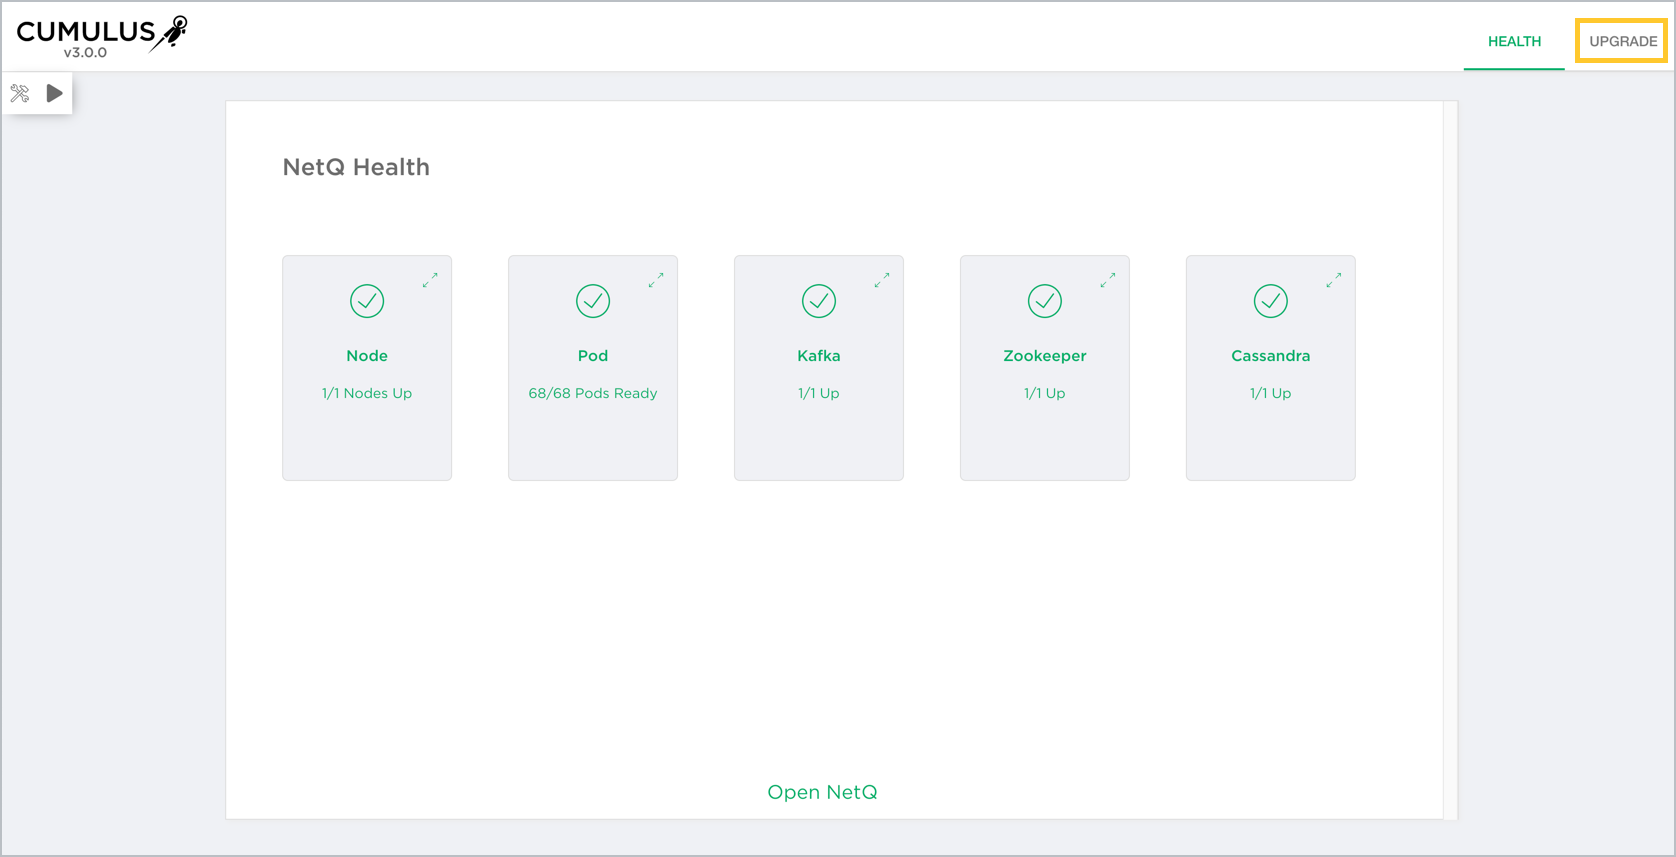
On-premises deployment (cloud deployment only has Node and Pod cards)
-
Enter NetQ-3.0.0.tgz or NetQ-3.0.0-opta.tgz and click
.
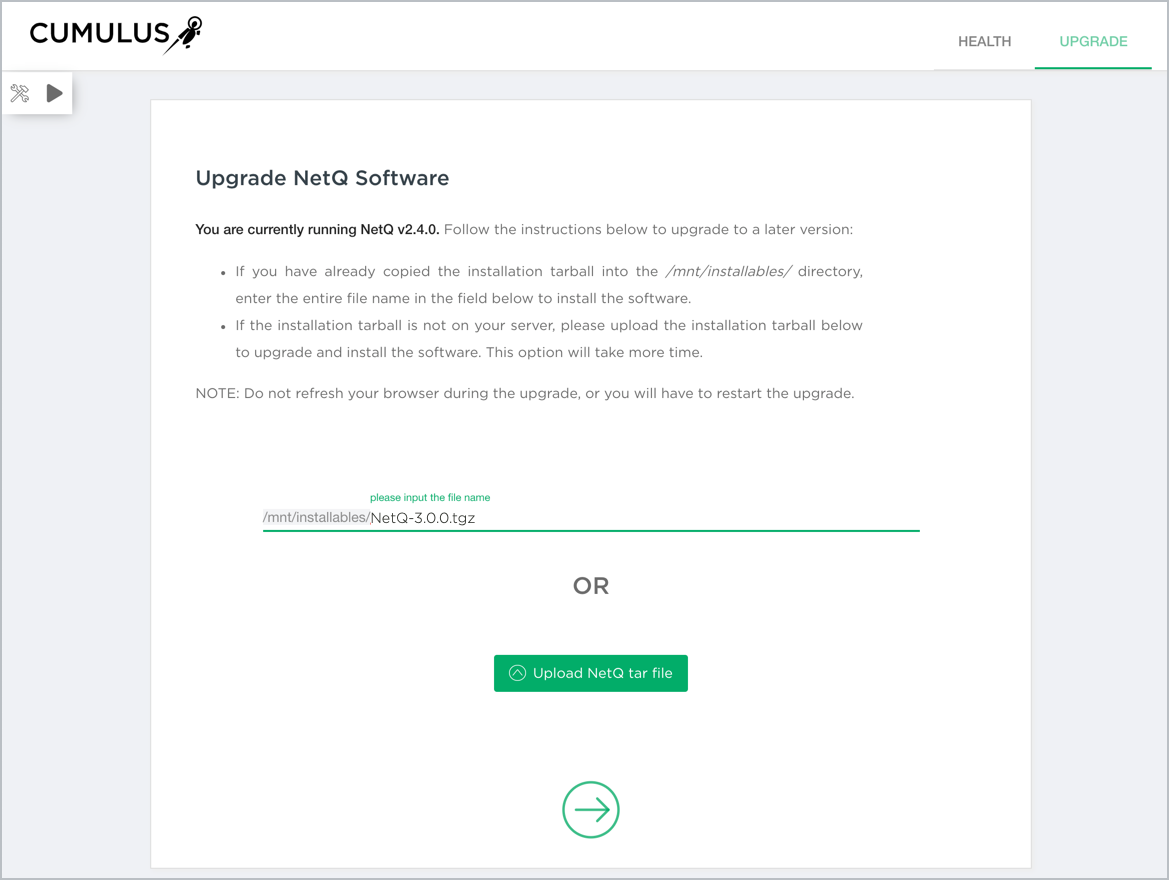
The
is only visible after you enter your tar file information.
-
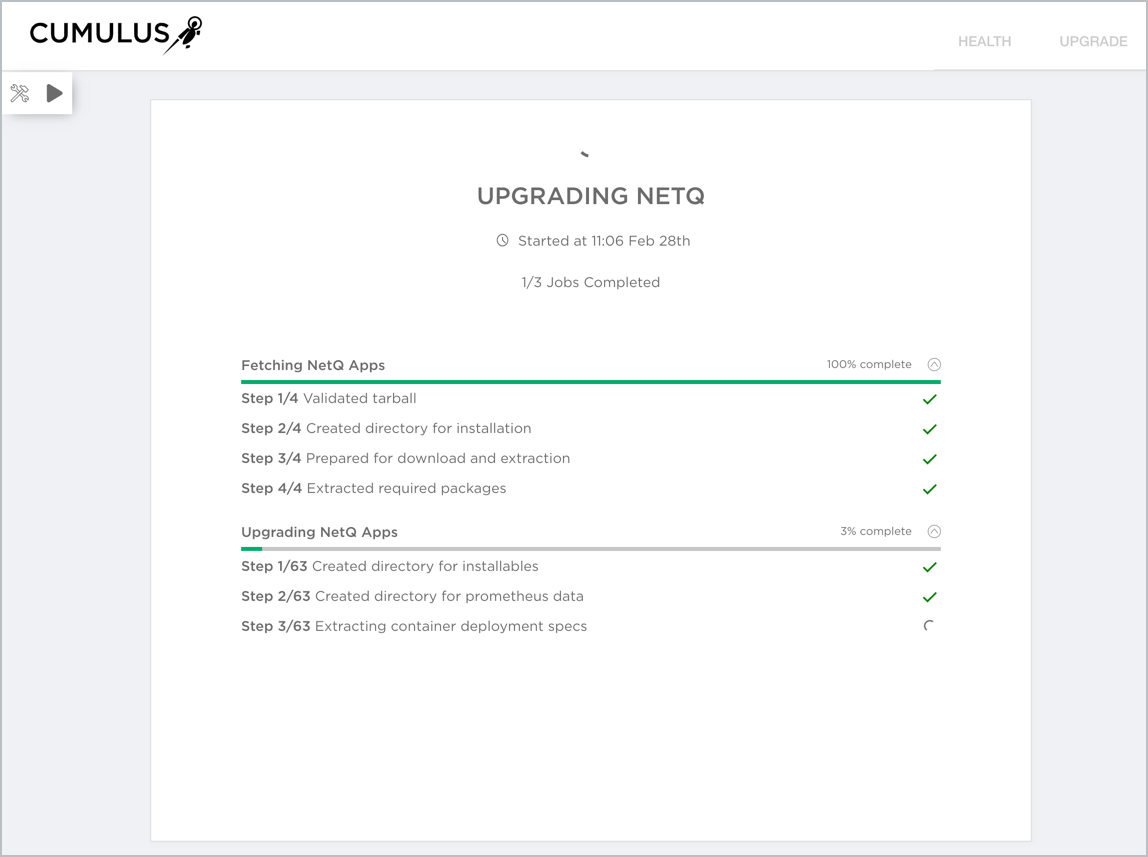
Monitor the progress. Click
to monitor each step in the jobs.
The following example is for an on-premises upgrade. The jobs for a cloud upgrade are slightly different.
-
When it completes, click
to be returned to the Health dashboard.
-
You can verify that you are on the correct version by viewing what is listed under the Cumulus logo.
Upgrade Using the NetQ CLI
Upgrading your NetQ On-premises or Cloud Appliance(s) or VMs is simple using the NetQ CLI.
To upgrade:
-
Run the appropriate
netq upgradecommand.netq upgrade bundle /mnt/installables/NetQ-3.0.0.tgznetq upgrade bundle /mnt/installables/NetQ-3.0.0-opta.tgz -
After the upgrade is completed, confirm the upgrade was successful.
cumulus@<hostname>:~$ cat /etc/app-release
BOOTSTRAP_VERSION=3.0.0
APPLIANCE_MANIFEST_HASH=d40ca38672
APPLIANCE_VERSION=3.0.0