Prepare Your Existing NetQ Appliances for a NetQ 2.4 Deployment
This topic describes how to prepare a NetQ 2.3.x or earlier NetQ Appliance before installing NetQ 2.4.x. The steps are the same for both the on-premises and cloud appliances. The only difference is the software you download for each platform. On completion of the steps included here, you will be ready to perform a fresh installation of NetQ 2.4.x.
To prepare your appliance:
Log in to your appliance.
Verify that your appliance is a supported hardware model.
- NetQ Appliance: SuperMicro SYS-6019P-WTR (user manual, quick reference guide)
- NetQ Cloud Appliance: SuperMicro SYS-E300-9D (user manual)
For on-premises solutions using the NetQ Appliance, optionally back up your NetQ data.
-
Run the backup script to create a backup file in
/opt/<backup-directory>.Be sure to replace the
backup-directoryoption with the name of the directory you want to use for the backup file. This location must be somewhere that is off of the appliance to avoid it being overwritten during these preparation steps.
cumulus@<netq-appliance>:~$ ./backuprestore.sh --backup --localdir /opt/<backup-directory>
- Verify the backup file has been created.
cumulus@<netq-appliance>:~$ cd /opt/<backup-directory>
cumulus@<netq-appliance>:~/opt/<backup-directory># ls
netq_master_snapshot_2020-01-09_07_24_50_UTC.tar.gz
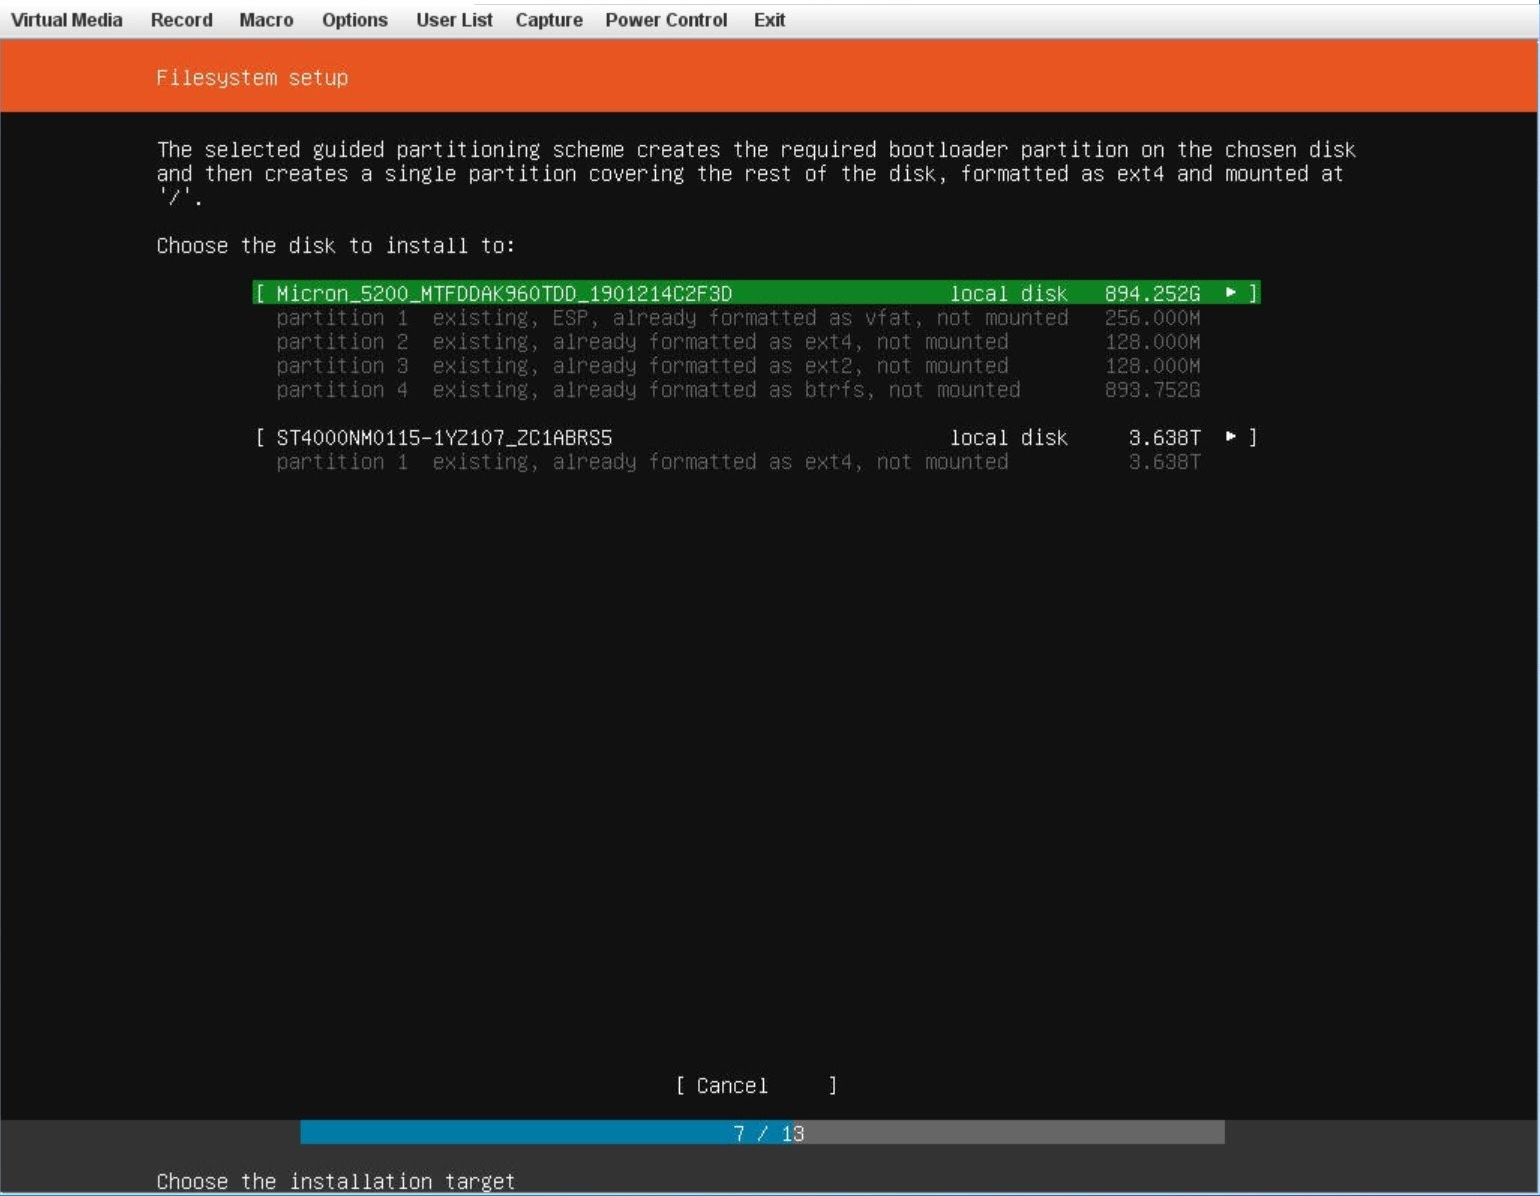
Install Ubuntu 18.04 LTS.
Use the instructions here.
Note these tips:
-
Ignore the instructions for MAAS.
-
Ubuntu OS should be installed on the SSD disk. Select Micron SSD with ~900 GB at step#9 in the aforementioned instructions.
-
Set the default username to cumulus and password to CumulusLinux! while installing Ubuntu 18.04.
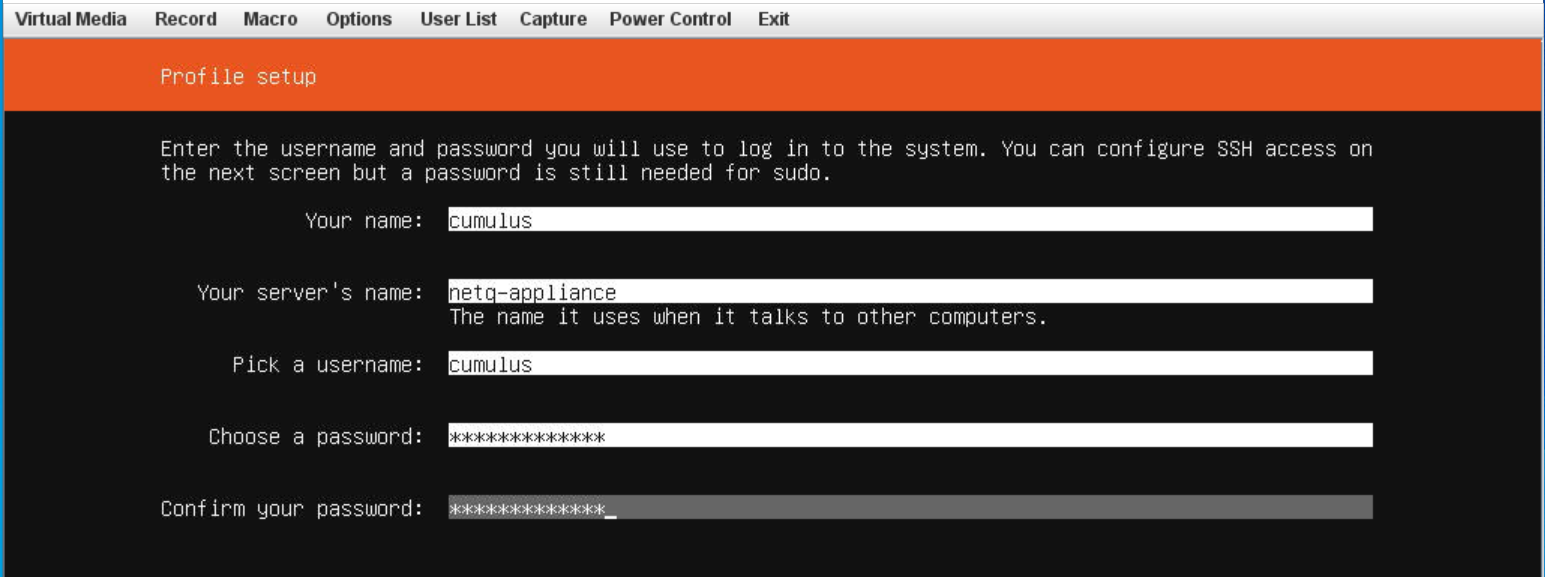
-
When prompted, select Install SSH server.
Configure networking.
Ubuntu uses Netplan for network configuration. You can give your appliance an IP address using DHCP or a static address.
Configure an IP address allocation using DHCP
- Create and/or edit the /etc/netplan/01-ethernet.yaml Netplan configuration file.
# This file describes the network interfaces available on your system
# For more information, see netplan(5).
network:
    version: 2
    renderer: networkd
    ethernets:
        eno1:
            dhcp4: yes
- Apply the settings.
$ sudo netplan apply
Configure a static IP address
-
Create and/or edit the /etc/netplan/01-ethernet.yaml Netplan configuration file.
In this example the interface, eno1, is given a static IP address of 192.168.1.222 with a gateway at 192.168.1.1 and DNS server at 8.8.8.8 and 8.8.4.4.
# This file describes the network interfaces available on your system
# For more information, see netplan(5).
network:
    version: 2
    renderer: networkd
    ethernets:
        eno1:
            dhcp4: no
            addresses: [192.168.1.222/24]
            gateway4: 192.168.1.1
            nameservers:
                addresses: [8.8.8.8,8.8.4.4
- Apply the settings.
$ sudo netplan apply
Update the Ubuntu repository.
- Reference and update the local apt repository.
root@ubuntu:~# wget -O- https://apps3.cumulusnetworks.com/setup/cumulus-apps-deb.pubkey | apt-key add -
-
Add the Ubuntu repository.
Create the file
/etc/apt/sources.list.d/cumulus-host-ubuntu-xenial.listand add the following line:root@ubuntu:~# vi /etc/apt/sources.list.d/cumulus-apps-deb-xenial.list ... deb [arch=amd64] https://apps3.cumulusnetworks.com/repos/deb xenial netq-latest ...Create the file
/etc/apt/sources.list.d/cumulus-host-ubuntu-bionic.listand add the following line:root@ubuntu:~# vi /etc/apt/sources.list.d/cumulus-apps-deb-bionic.list ... deb [arch=amd64] https://apps3.cumulusnetworks.com/repos/deb bionic netq-latest ...The use of
netq-latestin this example means that agetto the repository always retrieves the latest version of NetQ, even in the case where a major version update has been made. If you want to keep the repository on a specific version - such asnetq-2.2- use that instead.
Install Python.
root@ubuntu:~# apt-get update
root@ubuntu:~# apt-get install python python2.7 python-apt
Obtain the latest NetQ Agent and CLI package.
root@ubuntu:~# apt-get update
root@ubuntu:~# apt-get install netq-agent netq-apps
Download the bootstrap and NetQ installation tarballs.
Download the software from the MyMellanox downloads page page.
-
Select NetQ from the Product list.
-
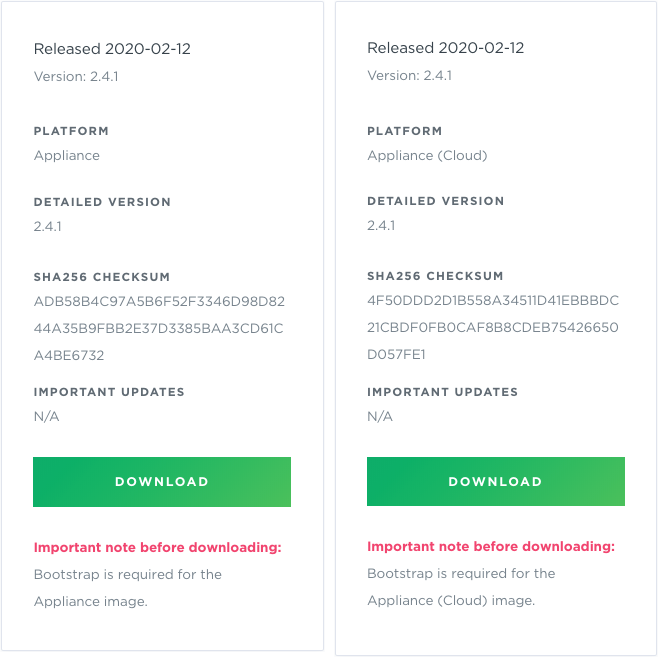
Select 2.4 from the Version list, and then select 2.4.1 from the submenu.
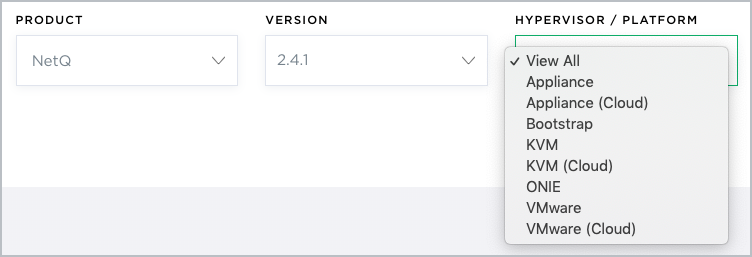
-
Select Bootstrap from the Hypervisor/Platform list. Note that the bootstrap file is the same for both appliances.
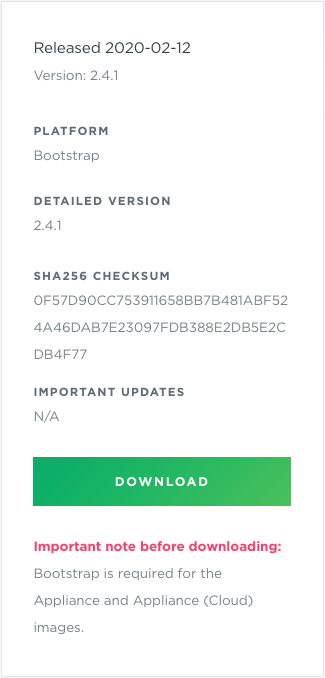
-
Scroll down and click Download.
-
Select Appliance for the NetQ Appliance or Appliance (Cloud) for the NetQ Cloud Appliance from the Hypervisor/Platform list.
Make sure you select the right install choice based on whether you are preparing the on-premises or cloud version of the appliance.
-
Scroll down and click Download.
-
Copy these two files, netq-bootstrap-2.4.1.tgz and NetQ-2.4.1.tgz (on-premises) or NetQ-2.4.1-opta.tgz (cloud), to the /mnt/installables/ directory on the appliance.
-
Verify that the needed files are present and of the correct release. This example shows on-premises files. The only difference for cloud files is that it should list NetQ-2.4.1-opta.tgz instead of NetQ-2.4.1.tgz.
cumulus@<hostname>:~$ dpkg -l | grep netq ii netq-agent 2.4.1-ub18.04u26~1581351889.c5ec3e5 amd64 Cumulus NetQ Telemetry Agent for Ubuntu ii netq-apps 2.4.1-ub18.04u26~1581351889.c5ec3e5 amd64 Cumulus NetQ Fabric Validation Application for Ubuntu cumulus@<hostname>:~$ cd /mnt/installables/ cumulus@<hostname>:/mnt/installables$ ls NetQ-2.4.1.tgz netq-bootstrap-2.4.1.tgz -
Run the following commands.
sudo systemctl disable apt-{daily,daily-upgrade}.{service,timer}
sudo systemctl stop apt-{daily,daily-upgrade}.{service,timer}
sudo systemctl disable motd-news.{service,timer}
sudo systemctl stop motd-news.{service,timer}
Run the Bootstrap CLI.
Run the bootstrap CLI on your appliance for the interface you defined above (eth0 or eth1 for example). This example uses the eth0 interface.
cumulus@<hostname>:~$ netq bootstrap master interface eth0 tarball /mnt/installables/netq-bootstrap-2.4.1.tgz
Allow about five minutes for this to complete.
If you are creating a server cluster, you need to prepare each of those appliances as well. Repeat these steps if you are using a previously deployed appliance or refer to Install the NetQ Appliance Cluster or Install the NetQ Cloud Appliance for a new appliance.
You are now ready to install the NetQ Software. Refer to Install NetQ Using the Admin UI (recommended) or Install NetQ Using the CLI.